Table of Contents
Introduction
There’s something magical about biting into a perfectly crisp, flaky Tiropita with its warm, tangy cheese filling oozing out with each bite. This iconic Greek cheese pie isn’t just a staple in Greek households; it’s a comfort food that transcends cultural boundaries with its simple yet irresistible combination of textures and flavors. Dating back centuries, Tiropita has earned its place as one of Greece’s most beloved pastries, but surprisingly, it remains relatively unknown compared to other Mediterranean dishes that have gained international fame.
What makes Tiropita truly special is its versatility. Whether served as a quick breakfast, a satisfying lunch, or an impressive appetizer at your next dinner party, this cheese pie delivers big flavor with minimal fuss. The beauty lies in its straightforward preparation – a few quality ingredients transformed into something extraordinary through simple techniques anyone can master.
Many of my readers who fell in love with my Spanakopita recipe have asked for more Greek pastry adventures, and Tiropita is the perfect next step. With just 30 minutes of prep time and everyday ingredients you might already have on hand, this family-friendly recipe will quickly become your go-to when you need something both impressive and uncomplicated.
Ready to unlock the secrets to creating the most delicious, authentic Tiropita you’ve ever tasted? Let’s dive in and discover how this humble cheese pie can transport your taste buds straight to the sun-drenched islands of Greece!
What is Tiropita?

Ever wondered what’s hiding behind that flaky, golden exterior that Greeks seem to enjoy at any time of day? Tiropita, pronounced “tee-RO-pee-ta,” literally translates to “cheese pie” in Greek (tiri means cheese, and pita means pie). But calling it simply a “cheese pie” feels like calling the Parthenon “just a building”! This savory delight has been bringing smiles to faces across Greece for generations. Legend has it that shepherds would make simple versions of Tiropita with their fresh cheese while tending flocks in the mountains. As they say in Greece, “A day without Tiropita is like a sky without stars.” Whether that’s an actual Greek saying or something I just made up is beside the point – once you try this recipe, you’ll be saying it too! Ready to join the Tiropita fan club? Your membership application is just one recipe away!
Why You’ll Love This Tiropita:
Tiropita stands out as a true crowd-pleaser, primarily because of its irresistible contrast between the shatteringly crisp phyllo exterior and the creamy, tangy cheese filling within. Each bite delivers a perfect harmony of textures that will leave you reaching for seconds (and thirds!).
Making Tiropita at home isn’t just delicious – it’s economical too. While buying pre-made versions from specialty shops can cost a premium, creating your own allows you to make twice the amount for less than half the price. Plus, you can control the quality of ingredients, using the freshest cheeses and highest quality olive oil for an authentic taste that store-bought versions simply can’t match.
What truly elevates homemade Tiropita is the opportunity to customize your cheese blend. While traditional recipes call for feta, the addition of ricotta and a touch of sharp kefalotyri cheese creates a depth of flavor that balances perfectly between tangy, salty, and rich. Much like my popular Baklava recipe that combines different nuts for complexity, this Tiropita uses a carefully selected cheese mixture that creates a more nuanced flavor profile than single-cheese versions.
Ready to impress family and friends with your Greek culinary skills? This Tiropita recipe is your ticket to Mediterranean cooking success – no passport required!
How to Make Tiropita:
Quick Overview
Tiropita comes together more easily than you might think, requiring just about 30 minutes of hands-on preparation before baking. The resulting cheese pie is wonderfully light yet satisfying, with an addictive contrast between the crispy phyllo layers and the creamy, herb-flecked cheese filling. From start to finish, you’ll spend about an hour creating this Greek delicacy, but the results are well worth the time investment!
Key Ingredients for Tiropita:
- 1 pound (450g) phyllo dough, thawed if frozen
- ½ cup (115g) unsalted butter, melted
- ¼ cup (60ml) olive oil
- 12 ounces (340g) feta cheese, crumbled
- 8 ounces (225g) ricotta cheese
- 4 ounces (115g) kefalotyri or parmesan cheese, grated
- 3 large eggs, beaten
- 3 tablespoons fresh dill, chopped
- 2 tablespoons fresh mint, chopped
- 1 teaspoon dried oregano
- 2 green onions, finely chopped
- ¼ teaspoon freshly ground black pepper
- 1 tablespoon sesame seeds (optional, for topping)
Step-by-Step Instructions:
- Prepare your workspace: Preheat your oven to 350°F (175°C). In a small bowl, combine the melted butter and olive oil. Have a pastry brush ready for application. Line a 9×13 inch baking pan with parchment paper, allowing some overhang for easier removal later.
- Make the filling: In a large mixing bowl, crumble the feta cheese with your fingers until it reaches a fine consistency. Add the ricotta and grated kefalotyri (or parmesan), mixing well to combine. Stir in the beaten eggs, chopped dill, mint, oregano, green onions, and black pepper. Mix thoroughly until all ingredients are well incorporated. The filling should be creamy but still have some texture from the feta.
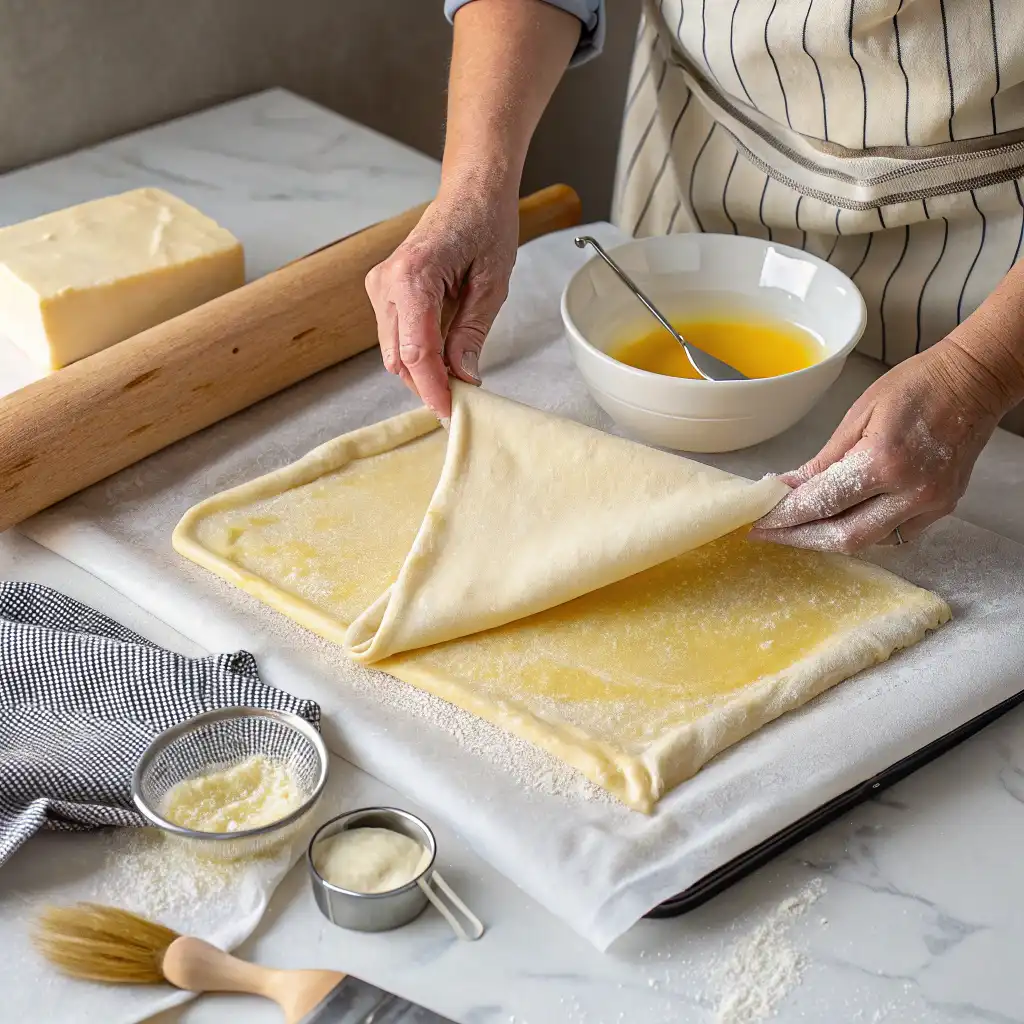
- Layer the phyllo: Unwrap your phyllo dough and cover with a slightly damp kitchen towel to prevent it from drying out. Take one sheet and place it in your prepared baking pan, allowing the edges to hang over the sides. Brush lightly with the butter-oil mixture. Continue this process with 7 more sheets, brushing each one with the butter-oil mixture.
- Add the filling: Spread the cheese mixture evenly over the phyllo layers, using a spatula to create a smooth, even surface that reaches all corners of the pan.
- Complete the pastry: Layer the remaining phyllo sheets on top of the filling, brushing each sheet with the butter-oil mixture just as you did for the bottom layers. When you reach the final sheet, brush it generously with the remaining butter-oil mixture and sprinkle with sesame seeds if using.
- Score the top: Using a sharp knife, score the top layers of phyllo into your desired serving portions (squares or diamonds work well) without cutting all the way through to the filling.
- Bake to perfection: Place the Tiropita in the preheated oven and bake for 45-50 minutes, or until the top is golden brown and crisp, and the filling is set.
- Rest before serving: Allow the Tiropita to rest for 10-15 minutes before cutting along your score lines and serving. This resting period helps the filling set completely and makes for cleaner slices.
What to Serve Tiropita With:
Tiropita makes a wonderful centerpiece for a Mediterranean-inspired meal, but pairing it with complementary dishes elevates the experience further. For a complete Greek feast, serve alongside a crisp Greek salad with tomatoes, cucumbers, red onions, and kalamata olives dressed simply with olive oil and oregano. The freshness of the salad provides a perfect counterpoint to the rich, savory pie.
For a lighter meal, pair Tiropita with a side of tzatziki for dipping – the cool, tangy yogurt sauce complements the warm cheese filling beautifully. If serving as part of a larger spread, include other Greek meze favorites like dolmades (stuffed grape leaves), marinated olives, and grilled vegetables.
Beverage pairings matter too! A crisp white wine like Assyrtiko from Santorini or a light Moschofilero perfectly balances the richness of the cheese. For non-alcoholic options, consider serving with a refreshing glass of sparkling water with lemon or traditional Greek mountain tea.
Top Tips for Perfecting Tiropita:

- Handle phyllo with care: Keep your phyllo dough covered with a slightly damp kitchen towel while working to prevent it from drying out and becoming brittle. Work quickly but carefully when brushing each sheet with the butter-oil mixture.
- The cheese blend matters: While traditional Tiropita uses primarily feta, creating a blend with ricotta adds creaminess, and kefalotyri adds depth. If you can’t find kefalotyri, good quality parmesan makes an excellent substitute.
- Don’t skip the herbs: Fresh herbs make a significant difference in the final flavor. If fresh dill isn’t available, use half the amount of dried dill instead. The mint adds a subtle brightness that’s distinctly Greek – try not to omit it.
- Bring phyllo to room temperature: Allow your phyllo to thaw completely in the refrigerator overnight, then bring to room temperature for about 30 minutes before using. This makes it much more pliable and less likely to tear.
- Brush, don’t drench: Apply the butter-oil mixture with a light hand. You want to coat each sheet, but not saturate it, which could make the final product greasy rather than crisp.
- Score before baking: Scoring the top layers before baking makes serving much easier and prevents the crisp top from shattering when cut after baking.
- Rest before serving: Allow your Tiropita to rest for at least 10-15 minutes before serving. This helps the filling set and makes for cleaner, more presentable slices.
Storing and Reheating Tips:
Tiropita is at its absolute best when freshly baked, with the phyllo at maximum crispness and the filling warm and gooey. However, leftovers can be stored and enjoyed later with a few simple techniques to preserve quality.
For short-term storage, cool your Tiropita completely, then cover loosely with foil or transfer to an airtight container. Refrigerate for up to 3 days. Avoid plastic wrap directly on the surface, as this will soften the crisp phyllo too much.
To freeze Tiropita, either freeze the entire unbaked pie (minus the final butter brush and scoring) or freeze individual portions after baking and cooling. If freezing the unbaked pie, wrap tightly in plastic wrap, then foil, and freeze for up to 2 months. When ready to bake, unwrap, brush with butter, score, and bake directly from frozen, adding about 15-20 minutes to the baking time. For baked portions, wrap individually in foil, place in freezer bags, and freeze for up to 3 months.
The best way to reheat refrigerated Tiropita is in a 325°F (165°C) oven for 10-15 minutes until heated through. This restores some crispness to the phyllo. For frozen baked portions, reheat in a 350°F (175°C) oven for 20-25 minutes until hot throughout. While microwave reheating is possible for true emergencies, it will result in soggy phyllo – the oven method is strongly preferred for maintaining texture!
For more Greek recipes, visit this link : Ultimate Guide to Greek Breakfast
Can I make Tiropita ahead of time?
Yes! You can prepare Tiropita up to 24 hours in advance. Assemble the entire pie but don’t bake it – cover tightly with plastic wrap and refrigerate. When ready to serve, remove from the refrigerator 30 minutes before baking to take the chill off, then bake as directed. You can also freeze the assembled unbaked Tiropita for up to 2 months. Simply add 15-20 minutes to the baking time when cooking from frozen.
Can I use different cheeses in my Tiropita?
While traditional Tiropita relies heavily on feta cheese, you can experiment with different cheese combinations. The key is maintaining a balance of creamy and tangy flavors. Good substitutions include goat cheese for some of the feta, cottage cheese or mascarpone for ricotta, and pecorino romano or gruyere for kefalotyri. Just make sure to keep at least 50% of the cheese as feta to maintain the authentic Greek flavor profile.
Why is my phyllo dough tearing and how can I prevent it?
Phyllo dough tears primarily because it dries out too quickly. To prevent this, keep your stack of unused phyllo covered with a slightly damp (not wet) kitchen towel while you work. Also, make sure your phyllo is fully thawed before using it. If tears do occur, don’t worry – simply patch with small pieces of phyllo or overlap the torn sections. With multiple layers, small tears won’t affect the final product’s taste or appearance.


