Table of Contents
Introduction
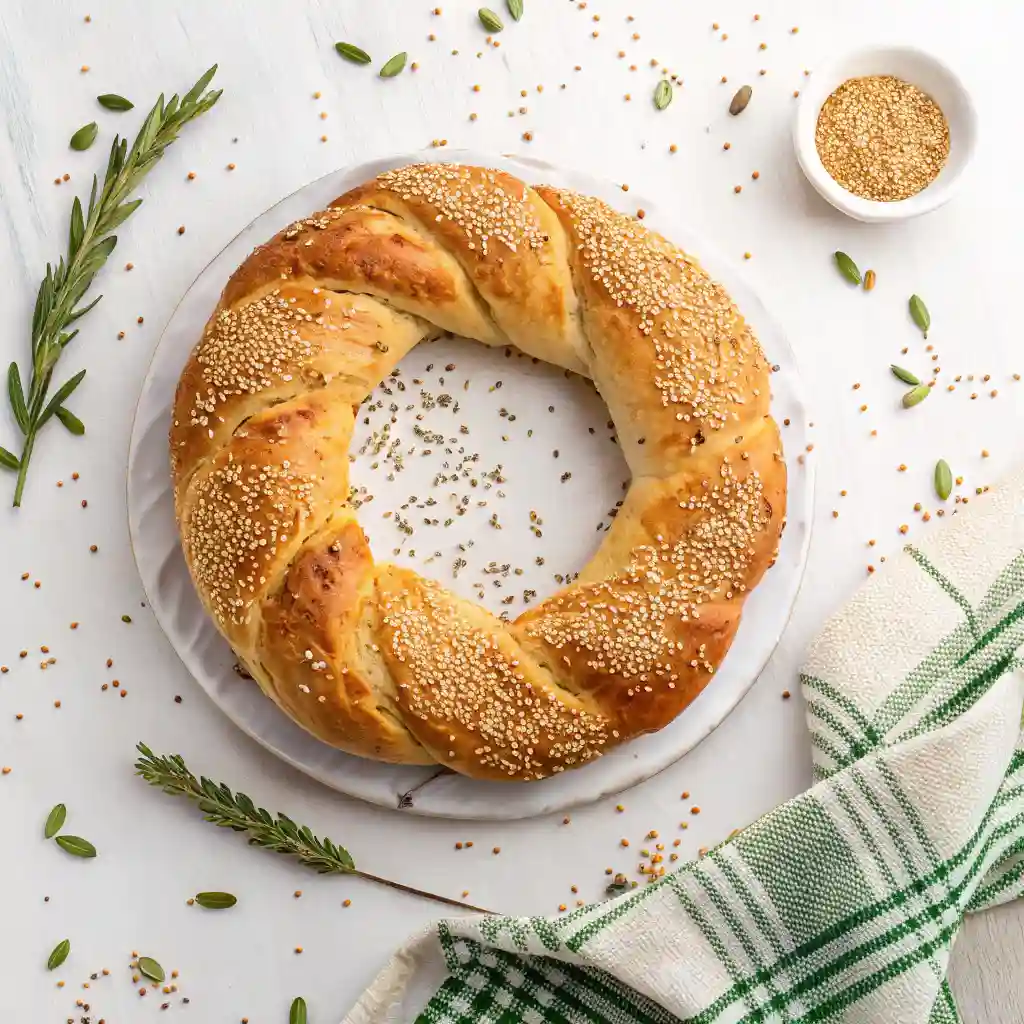
Imagine biting into a warm, golden-brown bread ring, its crust slightly crispy, and its interior soft and chewy, with a hint of sesame seeds that add a nutty aroma to every bite. That’s koulouri for you—a beloved Greek street food that’s as comforting as it is delicious. Whether you’ve strolled through the streets of Thessaloniki or Athens, you’ve likely seen locals enjoying this iconic snack with their morning coffee. But here’s the fun part: you don’t need to book a flight to Greece to enjoy it! This recipe brings the authentic taste of koulouri straight to your kitchen.
What makes koulouri so special? It’s simple, quick to prepare, and incredibly versatile. Perfect for breakfast, a midday snack, or even as a side to your favorite soup or salad, this recipe is a must-try for anyone who loves baking or exploring global cuisines. Think of it as the Greek cousin of a bagel, but lighter, softer, and just as satisfying. If you loved our spanakopita recipe, you’re going to adore this one too! So, roll up your sleeves, and let’s dive into the world of koulouri—your new favorite homemade treat.
What is Koulouri?
Ever wondered why it’s called koulouri? Is it because it’s shaped like a ring (koulouri means “ring” in Greek)? Or is it because it’s so irresistible that it’s been circling Greek culture for centuries? (Spoiler: It’s both!) Legend has it that this bread has been a staple in Greece since Byzantine times, proving that some recipes truly stand the test of time.
And let’s be honest, who can resist a bread that’s both simple and sophisticated? As the saying goes, “The way to a man’s heart is through his stomach,” but we’re pretty sure koulouri can win over anyone’s heart—man, woman, or child. So, why not give it a try? Trust us, once you taste it, you’ll be hooked.
Why You’ll Love This Koulouri
- The Perfect Balance of Texture and Flavor: Koulouri is all about contrasts—crispy on the outside, soft on the inside, and topped with a generous layer of sesame seeds that add a delightful crunch and nutty flavor. It’s a bread that’s as fun to eat as it is delicious.
- Cost-Effective and Homemade: Why spend money on store-bought versions when you can make koulouri at home for a fraction of the cost? With just a handful of pantry staples, you can whip up a batch that’s fresher and tastier than anything you’d buy.
- Endless Topping Possibilities: While traditional koulouri is topped with sesame seeds, you can get creative! Try adding poppy seeds, flaxseeds, or even a sprinkle of sea salt for a modern twist. It’s a blank canvas for your culinary creativity.
If you enjoyed our tiropita recipe, you’ll love how koulouri offers a similar simplicity with a unique flavor profile. Ready to bake? Let’s get started!
How to Make Koulouri
Quick Overview
Koulouri is surprisingly easy to make, requiring just a few basic ingredients and about 2 hours of your time (most of which is hands-off while the dough rises). The result? A batch of warm, fragrant bread rings that are perfect for sharing—or not!
Key Ingredients
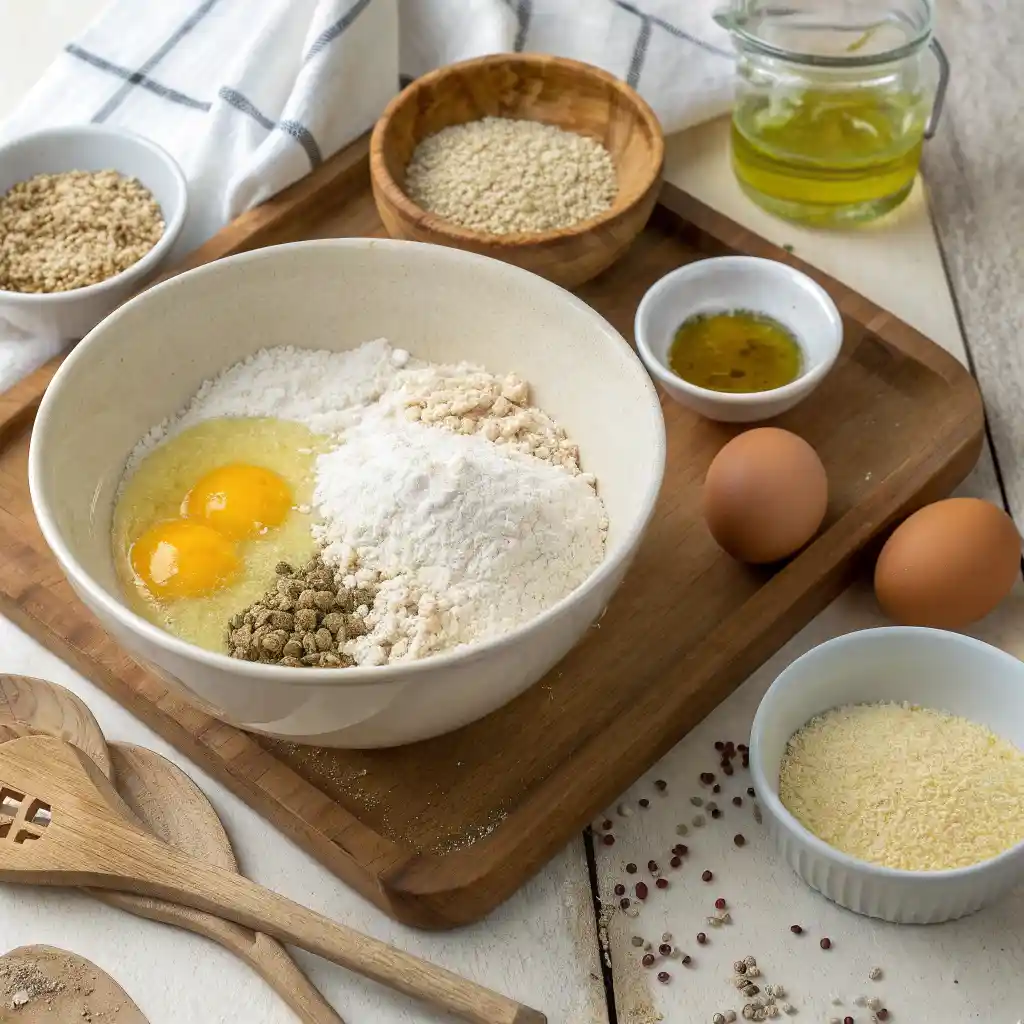
Here’s what you’ll need (serves 6-8):
- 4 cups (500g) all-purpose flour
- 1 ½ tsp (7g) active dry yeast
- 1 ½ tsp (9g) salt
- 1 tbsp (12g) sugar
- 1 ¼ cups (300ml) warm water
- 2 tbsp (30ml) olive oil
- ½ cup (60g) sesame seeds (for topping)
- 1 egg white (for egg wash)
Pro Tip: Use a kitchen scale for precise measurements, especially for the flour and water.
Step-by-Step Instructions
- Activate the Yeast: In a small bowl, combine the warm water, sugar, and yeast. Let it sit for 5-10 minutes until frothy.
- Make the Dough: In a large mixing bowl, combine the flour and salt. Add the yeast mixture and olive oil. Mix until a dough forms, then knead on a floured surface for 8-10 minutes until smooth and elastic.
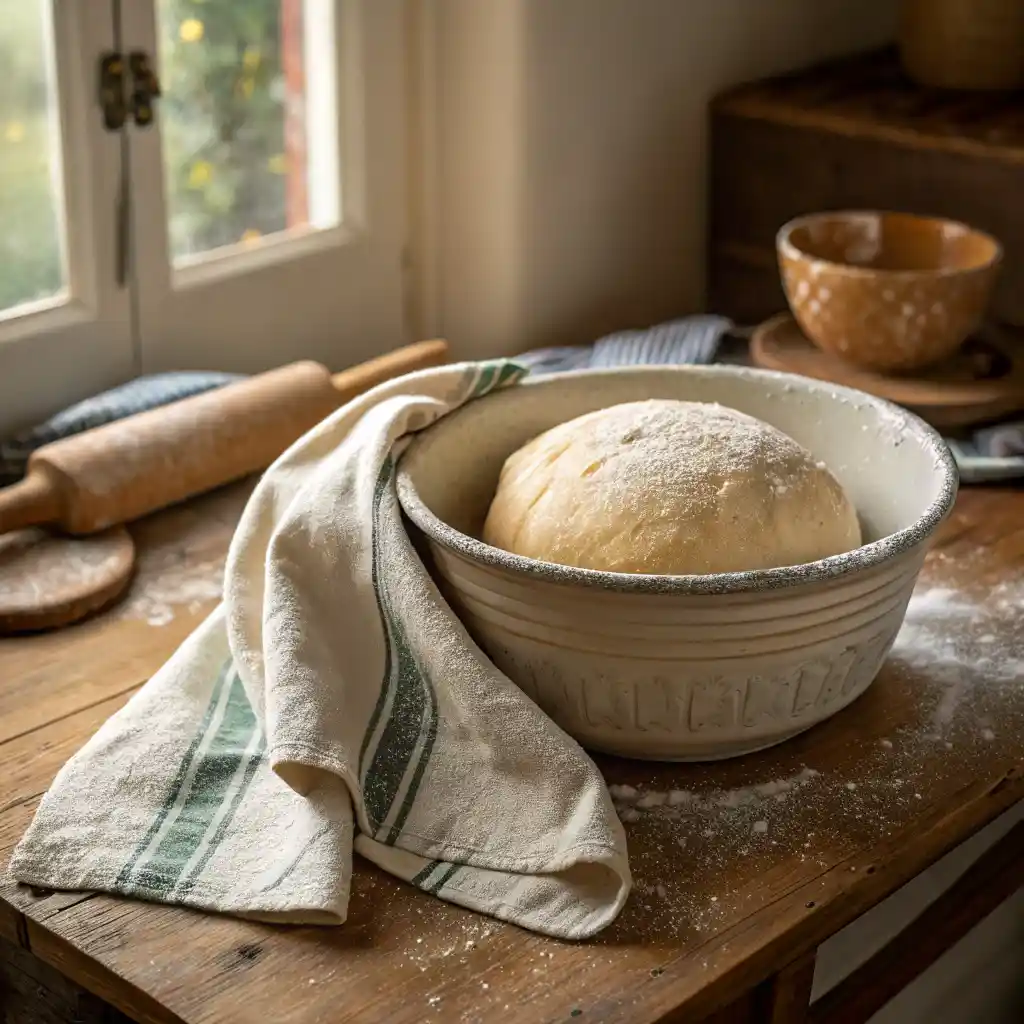
- Let It Rise: Place the dough in a lightly oiled bowl, cover with a damp cloth, and let it rise in a warm place for 1 hour or until doubled in size.
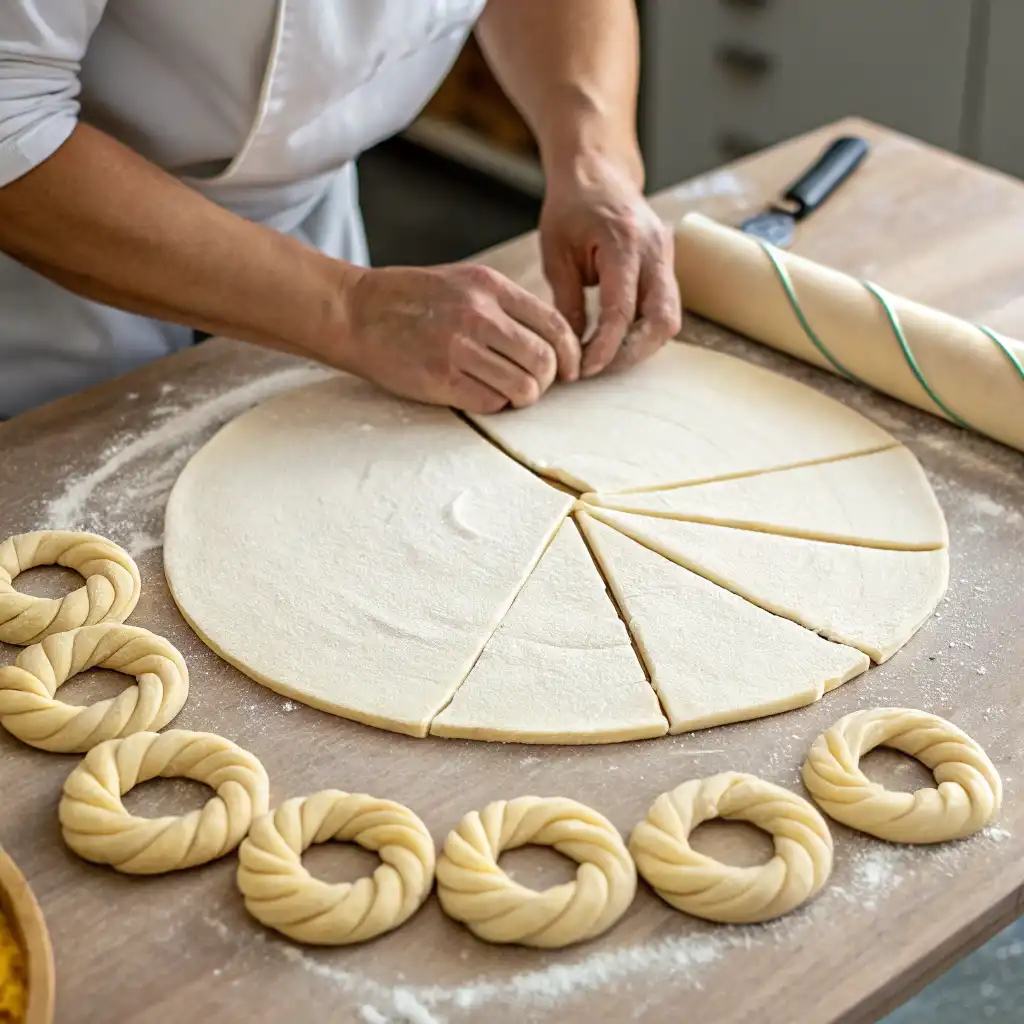
- Shape the Rings: Punch down the dough and divide it into 6-8 equal pieces. Roll each piece into a rope about 12 inches long, then form into a ring, pinching the ends to seal.
- Add the Toppings: Brush each ring with egg white and dip generously into sesame seeds, ensuring they stick well.
- Bake to Perfection: Preheat your oven to 375°F (190°C). Place the rings on a baking sheet lined with parchment paper and bake for 20-25 minutes until golden brown.
- Cool and Enjoy: Let the koulouri cool slightly before serving. Enjoy warm or at room temperature!
What to Serve It With
This bread is incredibly versatile! Here are a few pairing ideas:
- Breakfast: Serve with Greek yogurt, honey, and fresh fruit.
- Snack: Pair with a cup of strong Greek coffee or tea.
- Lunch/Dinner: Enjoy alongside a bowl of fasolada (Greek bean soup) or a fresh Greek salad.
Top Tips for Perfecting
- Don’t Skip the Egg Wash: It helps the sesame seeds stick and gives the bread a beautiful golden color.
- Use Fresh Yeast: This ensures your dough rises properly.
- Experiment with Toppings: Try adding herbs or spices to the sesame seeds for a unique twist.
Storing and Reheating Tips
- Storing: Keep koulouri in an airtight container at room temperature for up to 2 days. For longer storage, freeze in a ziplock bag for up to 1 month.
- Reheating: To revive leftover koulouri, warm it in a 350°F (175°C) oven for 5-10 minutes.
For more Greek recipes, visit this link : Guide to Greek Breakfast
FAQ
Can I substitute sesame seeds in Koulouri?
Absolutely! While sesame seeds are traditional, try poppy seeds, flaxseeds, or even za’atar for a twist. Just note that substitutions may alter the flavor slightly. Pro tip: Press toppings gently into the dough to ensure they stick.
How long does homemade Koulouri stay fresh?
Freshly baked Koulouri is best enjoyed within 2 days. Store it in an airtight container at room temperature. To revive leftovers, warm in a 350°F oven for 5 minutes. Craving more? Freeze extras for up to 1 month!
Why is my Koulouri dense instead of airy?
Dense bread often means underproofed dough. Ensure your yeast is fresh and let the dough rise in a warm spot until doubled. Over-kneading can also toughen the texture—stick to 8-10 minutes of kneading. Need help? Follow our step-by-step guide for foolproof results.
New chat

