Table of Contents
Ever thought about canning chili? It’s a game-changer for meal prep. Instead of freezing and dealing with frostbitten leftovers, you can have shelf-stable, ready-to-eat chili anytime. Perfect for busy weeknights or impromptu camping trips, canned chili is convenient and delicious. Plus, it’s a great way to save money and reduce food waste. Let’s dive into how you can make this your new favorite meal prep hack!
Key Takeaways
- Canning chili is a great way to preserve your favorite recipes and have meals ready to go.
- This method saves time and money, making it ideal for busy families.
- Proper canning techniques ensure your chili is safe and tasty for up to two years.
- Canned chili is versatile and can be used in various dishes like nachos, tacos, or as a hearty soup.
- Investing in the right canning equipment is essential for success and safety.
Introduction to Canning Chili
Alright, let’s dive into the world of canning chili! Imagine having a delicious, hearty meal ready to go whenever you want it, without the hassle of cooking from scratch every time. Canning chili is a game-changer for meal prep enthusiasts. It’s about making life easier, saving time, and having that comforting bowl of chili at your fingertips.
Canning chili isn’t just about preserving food; it’s about preserving flavor. By sealing in all those spices and ingredients, you maintain that rich, savory taste that chili lovers crave. Plus, it’s a fantastic way to use up those extra ingredients from your garden or pantry. You can customize your chili just the way you like it, whether you’re a fan of spicy jalapeños or prefer a milder, bean-heavy version.
Canning chili is like bottling up a little bit of love and warmth for those chilly days when you need a quick, satisfying meal.
Let’s not forget the practical side. With canned chili, you’re not only reducing food waste but also cutting down on those last-minute grocery store runs. It’s all about convenience and having a nutritious meal option ready to go. Whether you’re planning for a camping trip or just want something easy for a busy weeknight, canned chili has got your back.
So, why not give it a shot? Grab those mason jars and let’s get started on this tasty journey to making your life a whole lot easier.
Benefits of Canning Chili
Convenience and Time-Saving
Canning chili is like having a personal chef ready to whip up a meal at any moment. When you’re rushing through a busy week, nothing beats grabbing a jar from the pantry instead of spending time cooking from scratch. Imagine this: after a long day, you simply pop open a jar, heat it up, and dinner is served. It’s a game-changer for those “I don’t feel like cooking” nights. Plus, when you can a big batch, you’re essentially meal-prepping for weeks or even months ahead. It’s like future-you giving present-you a high-five.
Cost-Effectiveness
Let’s talk dollars and cents. Making chili at home and canning it can save you a ton compared to buying pre-made meals or constantly ordering takeout. Canned goods provide a cost-effective solution for enjoying nutritious meals year-round. When you buy ingredients in bulk, especially during sales, you’re getting more bang for your buck. Plus, you can customize your chili with whatever you have on hand, reducing waste and making your meals even more budget-friendly. It’s like turning your kitchen into a mini-economy, where every penny counts.
Canning isn’t just about preserving food; it’s about preserving time and money. With a little effort upfront, you can enjoy the rewards for months to come. So why not give it a try and see how it transforms your meal planning?
Essential Equipment for Canning Chili
Alright, let’s dive into the nitty-gritty of what you’ll need to get started with canning chili. Having the right tools makes all the difference, and trust me, you don’t want to be halfway through the process and realize you’re missing something crucial.
Pressure Canner
First off, you absolutely need a pressure canner. This isn’t optional! Unlike regular canning, chili requires pressure canning to ensure it’s safe to eat later. A good pressure canner will maintain the necessary pressure levels to prevent any nasty bacteria from surviving. Look for one with a reliable pressure gauge or weight. It’s an investment, but one that pays off in peace of mind.
Canning Jars and Lids
Next up, the jars and lids. You’ll need quality glass jars that can withstand the heat and pressure. Mason jars are the go-to choice here. Make sure you have new lids for each batch you can because the seal is critical. You don’t want to risk using old lids that might not seal properly.
Canning Funnel
A canning funnel is a game-changer. It helps you pour your hot chili into the jars without making a huge mess. This tool ensures you get the chili into the jar without burning yourself or spilling it everywhere.
Jar Lifter
Once your jars are filled and sealed, you’ll need a jar lifter to safely move them in and out of the canner. This tool is designed to grip the jars securely, preventing accidents and burns.
Bubble Remover and Headspace Tool
This handy tool helps you remove air bubbles from your filled jars and measure the headspace accurately. Proper headspace is crucial for a good seal.
Clean Cloths and Towels
Finally, keep some clean cloths or towels nearby. You’ll need them to wipe the rims of the jars before sealing, ensuring there’s no food residue that could prevent a tight seal. Plus, they’re useful for handling hot jars and cleaning up spills.
With the right equipment at your fingertips, canning chili becomes a straightforward and rewarding process. You’ll be thanking yourself later when you have delicious, homemade chili ready to go at a moment’s notice. So, gather your gear and get ready to enjoy the fruits of your labor!
Step-by-Step Guide to Canning Chili
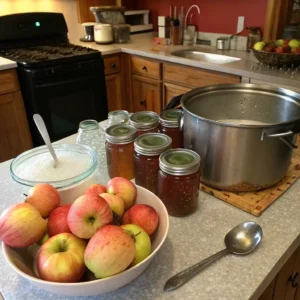
Preparing Your Ingredients
Before you even think about canning, get your ingredients ready. Start with fresh vegetables and quality meat. You’ll need ground beef or turkey, diced onions, minced garlic, kidney beans, crushed tomatoes, and your favorite spices like chili powder and cumin. Want to spice things up? Throw in some jalapeños or corn. Remember, preparation is key to a successful canning session.
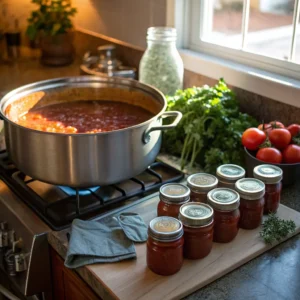
Cooking the Chili
Time to hit the stove! Brown your meat in a skillet until it’s nice and crispy. Drain the fat unless you’re into extra greasy chili. Next, toss everything into a big pot—beans, tomatoes, spices, the works. Let it simmer for about 20 minutes. Taste test as you go, adjusting the spices to your liking. This is your chance to make it as mild or fiery as you want.
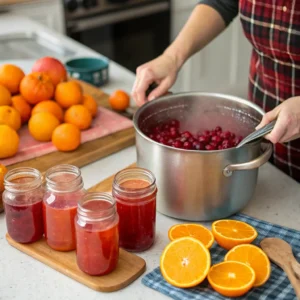
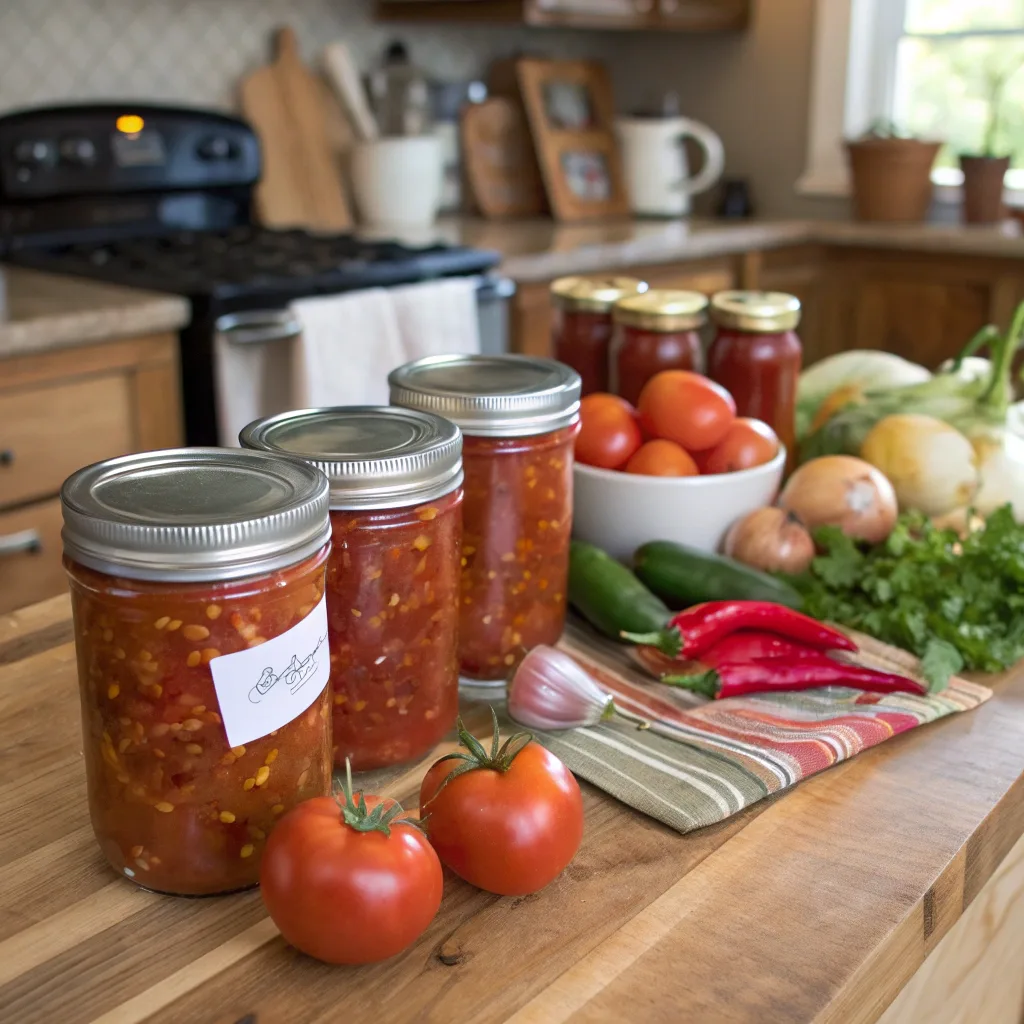
Filling and Sealing the Jars
Now, grab your sterilized jars. Ladle the hot chili into each jar, leaving about an inch of headspace at the top. This space is crucial for the sealing process. Wipe the rims clean with a damp cloth to ensure a good seal. Screw on the lids and bands just until they’re snug—not too tight or they won’t seal properly.
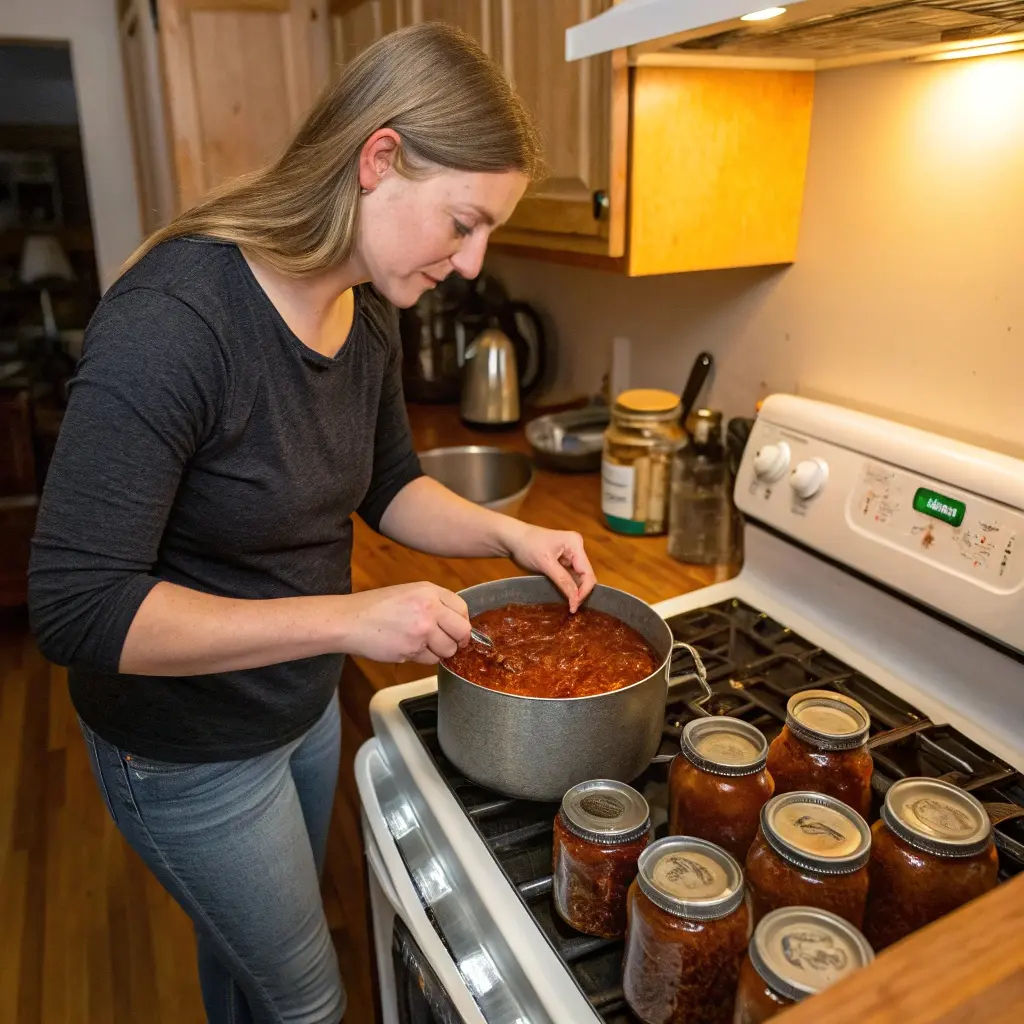
Processing the Jars
Place the filled jars in your pressure canner. It’s important to process chili under pressure to avoid any nasty bacteria. For pint jars, process them at 11 PSI for 75 minutes. If you’re using quart jars, you’ll need 90 minutes. Adjust for your altitude if needed. Once done, let the canner cool before removing the jars. As they cool, you’ll hear a satisfying pop, indicating a successful seal.
Canning chili might seem like a lot of work, but once you hear that pop, you’ll know it was worth it. With a pantry stocked full of homemade chili, you’re ready for whatever the week throws at you.
Tips for Storing and Using Canned Chili
Congratulations on mastering the art of canning chili! Now, let’s talk about how to store and make the most out of your delicious creation.
First off, once your jars have cooled down, check the seals. You should hear a satisfying “pop” sound as they cool, signaling that they’re sealed properly. If the lid is flat or slightly inverted, you’re good to go. Remove the rings before storing them to prevent rusting and keep them in a cool, dark place like a pantry.
Storing Your Canned Chili
- Label Your Jars: Trust me, you think you’ll remember what’s in there, but after a few weeks, all those jars start looking the same. Use a permanent marker to write the content and the date you canned it.
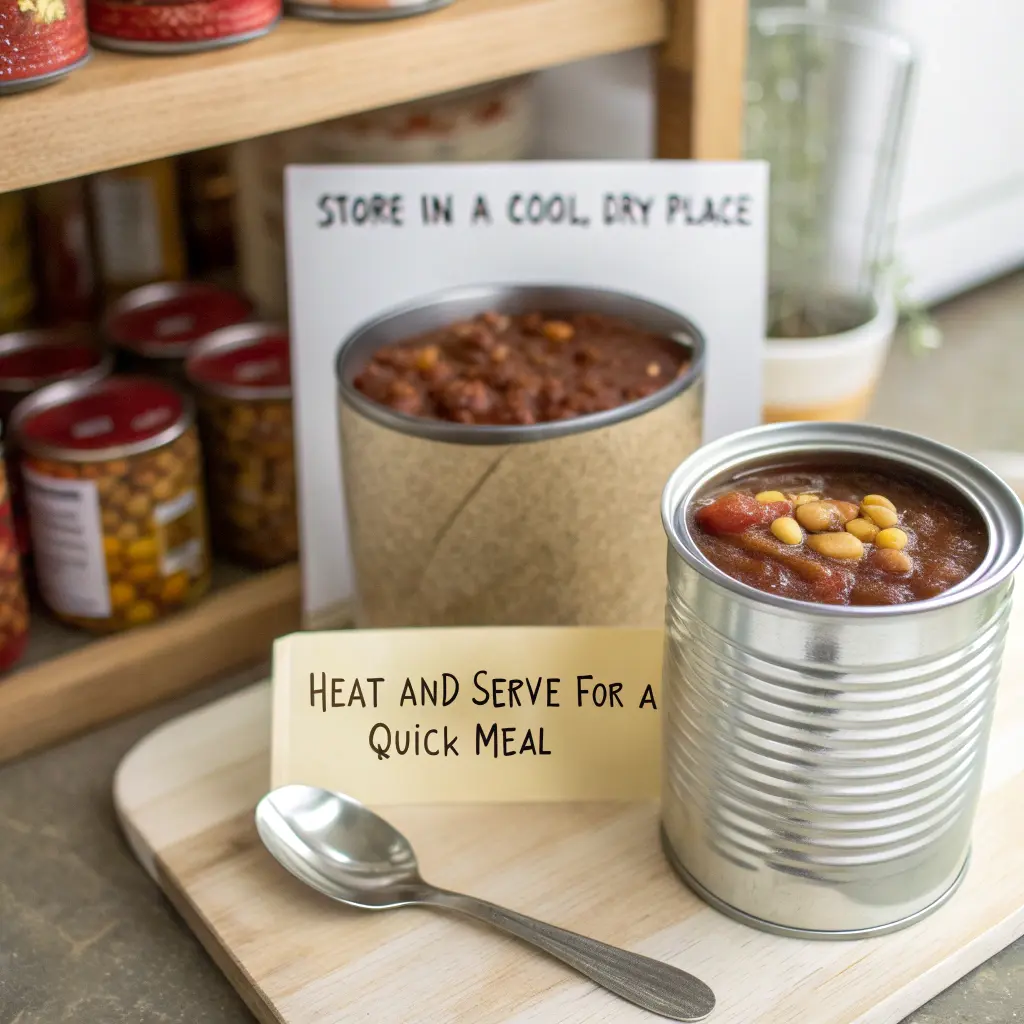
- Ideal Conditions: Store your jars in a cool, dark place. A pantry or a basement shelf is perfect. Avoid stacking jars on top of each other as this can compromise the seal.
- Shelf Life: Properly canned chili can last up to two years. Once opened, transfer any leftovers to an airtight container and refrigerate. For longer storage, consider freezing the leftovers.
Using Your Canned Chili
Canned chili is a lifesaver on busy days. Here are some ideas on how to enjoy it:
- Quick Meals: Heat it up on the stove or microwave for a fast meal. Add some shredded cheese or sour cream for extra flavor.
- Chili Dogs or Nachos: Use it as a topping for hot dogs or nachos. It’s a game-changer!
- Chili Mac: Mix it with cooked pasta for a hearty chili mac.
Canned chili isn’t just a time-saver; it’s a flavor-packed meal waiting to happen. With a little creativity, you can transform it into multiple dishes that satisfy your taste buds and your schedule.
By following these tips, you’re not just storing food—you’re storing up convenience and deliciousness for future you. Enjoy your chili adventures!
Conclusion: Embrace the Meal Prep Revolution with Canned Chili
Canning chili is more than just a kitchen task—it’s a game-changer for your meal prep routine. Imagine having a pantry stocked with delicious, homemade chili that’s ready whenever you are. No more last-minute dinner scrambles or takeout expenses.
Here’s why you should consider making canned chili your go-to meal prep hack:
- Convenience: With canned chili, you have a quick meal option on hand, perfect for those busy weeknights when cooking from scratch isn’t feasible.
- Cost-Effective: By canning chili at home, you save money compared to buying pre-packaged meals or dining out. Plus, you control the ingredients, ensuring quality and taste.
- Long Shelf Life: Properly canned chili can last for years, allowing you to enjoy your favorite flavors without worrying about spoilage.
Embracing the practice of canning chili not only simplifies your life but also connects you to a time-honored tradition of food preservation. It’s about enjoying the fruits of your labor, knowing that a hearty meal is always within reach.
So, why not give it a try? Start canning your chili and join the meal prep revolution today. Your future self will thank you!
Frequently Asked Questions
Why should I can chili instead of freezing it?
Canning chili keeps it fresh and tasty for over two years without freezer burn. Plus, it’s ready to eat in just minutes!
What equipment do I need to can chili at home?
You’ll need a pressure canner, jars with lids, a ladle, and a funnel. Make sure to follow safety guidelines for canning.
Is canned chili safe to eat?
Yes, canned chili is safe if you follow proper canning methods. It prevents spoilage and keeps harmful bacteria away.