Table of Contents
Hey there, fellow food lovers! As the leaves start to turn and the air gets crisp, I can’t help but feel that familiar urge to get into the kitchen and preserve the best of the season. For me, that always means one thing: apples! There’s something so satisfying about pulling a jar of home-canned apples off the shelf in the middle of winter, a little taste of fall sunshine in the dead of winter. Whether you’re dreaming of apple pies, cozy cobblers, or just want to enjoy a simple spoonful of applesauce, canning is the way to go!
In this post, I’m going to walk you through everything you need to know to can apples safely and easily, whether you want slices, sauce, apple butter, or even a head start on apple pie filling. Let’s get started!
Why Can Apples?
Canning apples isn’t just a fun activity; it’s a practical way to make the most of apple season. Here’s why I think it’s such a great idea:

- Taste of Fall, All Year Round: Imagine biting into a slice of perfectly preserved apple in the middle of winter, it’s like a little burst of sunshine.
- No More Food Waste: Got too many apples from your tree or the orchard? Canning is an awesome way to use them up and avoid waste.
- You’re in Control: When you can your own apples, you know exactly what goes into them, no weird additives or preservatives needed.
- So Versatile: Canned apples aren’t just for pies. They’re great in oatmeal, yogurt, crisps, muffins, and so much more.
- Budget-Friendly: Skip the pricey store-bought stuff and can your own for a fraction of the cost.
- Homesteading Fun: There’s nothing quite like the feeling of creating something with your own hands and filling your pantry with deliciousness.
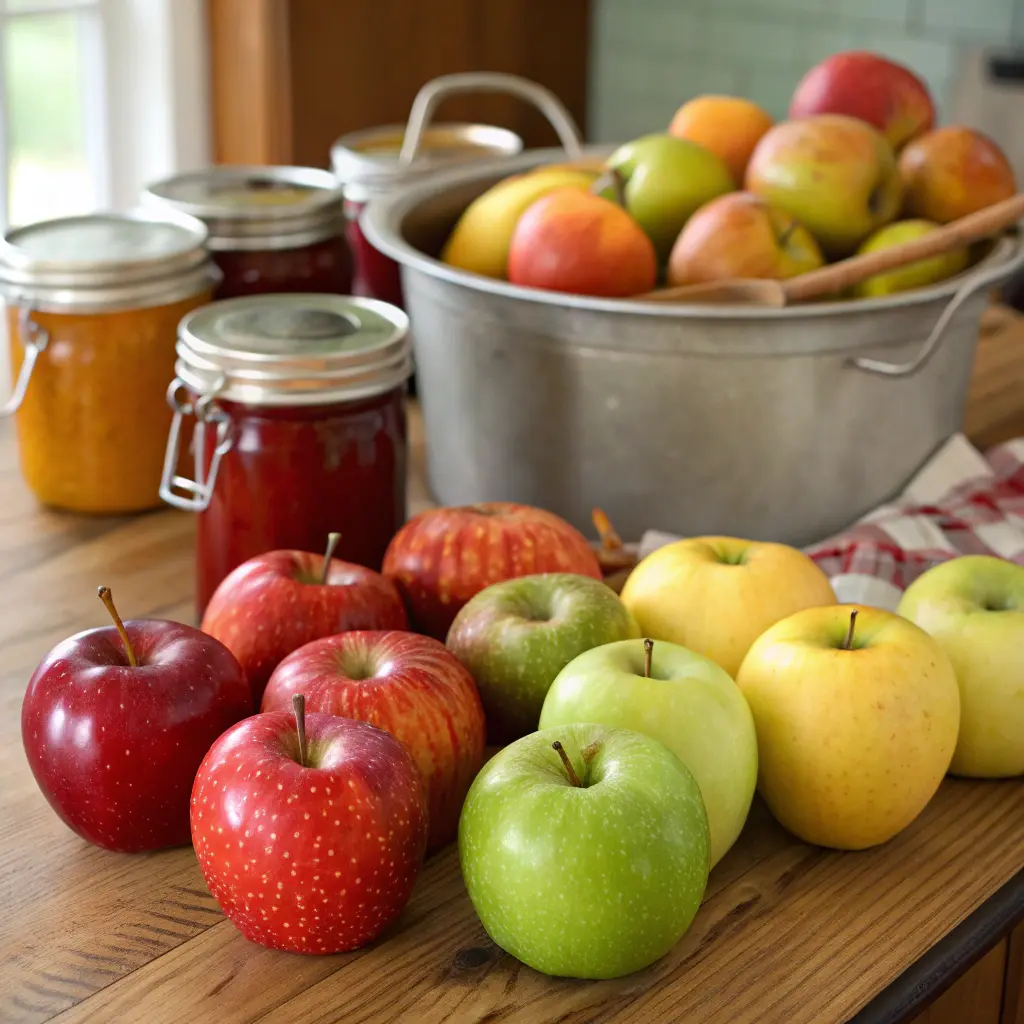
Choosing the Right Apples for Canning
Now, here’s a little secret: not all apples are created equal when it comes to canning. You want to end up with nice, firm slices, not mush. So, what should you be looking for?
- Firm Flesh: Choose apples that are nice and firm so they hold their shape during canning.
- Naturally Sweet: Go for sweeter varieties to get the best flavor.
- Crisp Texture: This will help prevent your canned apples from turning to mush.
- Sweet and Tart: A nice balance of sweet and tart always tastes best.
Here are some of my favorites:
- Honeycrisp: These are the rockstars of canning with their amazing flavor and ability to hold their shape.
- Gala: A great all-around sweet apple that cans well.
- Fuji: Another reliably sweet and firm option.
- Braeburn: Holds its shape and has a nice balanced flavor.
- Pink Lady: Great for canning with a sweet-tart flavor.
- Jonagold and Cortland are also good options.
And here’s what to avoid:
- Granny Smith: While I love them for baking, they can get mushy in the canning process.
- Golden Delicious: They hold their shape well, but can lack flavor.
Essential Canning Equipment and Supplies
Alright, let’s talk gear. You don’t need a ton of fancy equipment, but a few essentials will make the process safe and smooth. Here’s what you’ll need:
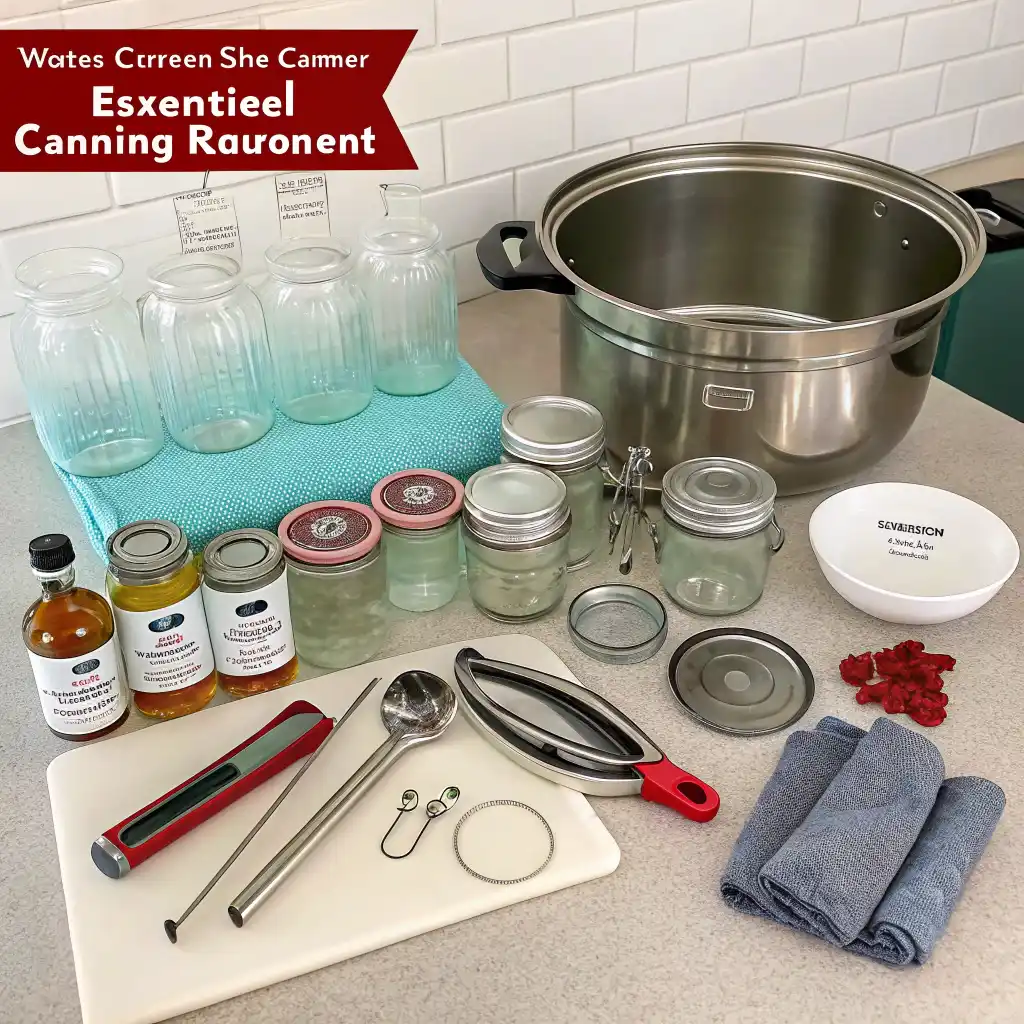
- Water Bath Canner: This is a big pot with a rack, it’s essential for processing your jars safely.
- Canning Jars: Pint or quart-sized jars, depending on your needs.
- New Canning Lids and Rings: Always use new lids for a good seal.
- Jar Lifter: For safely lifting hot jars in and out of the canner.
- Canning Funnel: Makes filling jars way less messy.
- Magnetic Lid Lifter: Super helpful for grabbing lids out of hot water.
- Bubble Remover Tool: Or a small spatula to remove air bubbles from the jars.
- Large Pot: For cooking your apples and syrup.
- Sharp Knife or Peeler: For prepping your apples.
- Cutting Board: For safe slicing.
- Bowls: For holding your apples and lemon water.
- Clean towels and dishcloths: You’ll need these to wipe rims and surfaces.
- Food Thermometer: To make sure the water in your canner is the right temperature before adding your jars.
- Produce Brush: To scrub your apples clean before peeling.
And while these aren’t essential, they’re sure nice to have:
- Apple Peeler/Corer/Slicer: This tool will save you so much time and effort, especially if you’re canning a lot of apples.
Preparing Apples for Canning
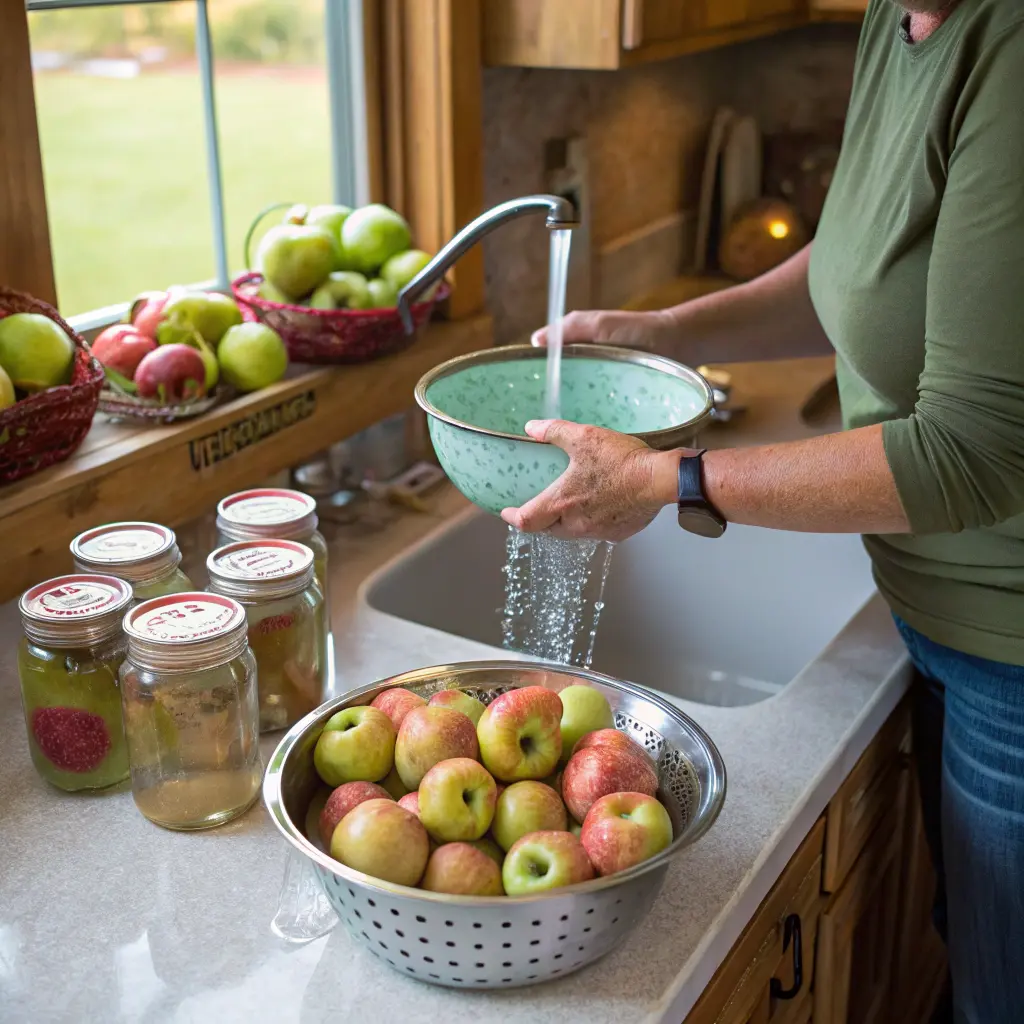
Okay, it’s time to get down to business. Here’s how to get those apples ready:
- Washing: Give your apples a good wash under running water. You can even soak them in a mix of water and vinegar for a few minutes to help get them extra clean.
- Peeling, Coring, and Slicing: Peel, core, and slice your apples to your desired thickness. I like mine about 1/2 inch thick.
- Preventing Browning: To keep your apples from turning brown, toss them in a bowl of lemon water. I like to use about 1/4 cup of lemon juice for every 4 cups of water. You can also use ascorbic acid according to the package directions.
- Syrup Preparation: You can use plain water, fruit juice, or a syrup to can apples. I like to use a light syrup, and you can also use honey or maple syrup for some variation. Here are my basic recipes:
- Light Syrup: 2 cups sugar to 1 quart water.
- Medium Syrup: 3 cups sugar to 1 quart water.
- To avoid mess, try using a tea kettle to prepare the syrup and pour it directly over the apples in the jar.
Here’s a handy chart of syrup densities:
| Syrup Density | Sugar | Water | Yield |
|---|---|---|---|
| Very Light | 1 cup | 4 cups | 4 cups |
| Light | 1 2/3 cups | 4 cups | 4 1/4 cups |
| Medium | 2 2/3 cups | 4 cups | 4 2/3 cups |
| Heavy | 4 cups | 4 cups | 5 3/4 cups |
You can also use apple juice or other fruit juice as your canning liquid.
Canning Methods: Hot Pack vs. Raw Pack
There are two main ways to can apples:
- Hot Pack Method: This is the most common method for canning apples. It involves simmering your apple slices in syrup for about 5 minutes before packing them into jars. It helps reduce air in the apples, prevents them from floating in the jars, and cuts down on processing time.
- Raw Pack Method: This involves layering apple slices with sugar, pressing out the juices, and then using the juice to can the apples. Some folks say it can lead to crisper slices. However, it’s not a “tested” method so you should be careful.
I highly recommend the hot pack method for most home canners, as it’s the safest and most reliable method.
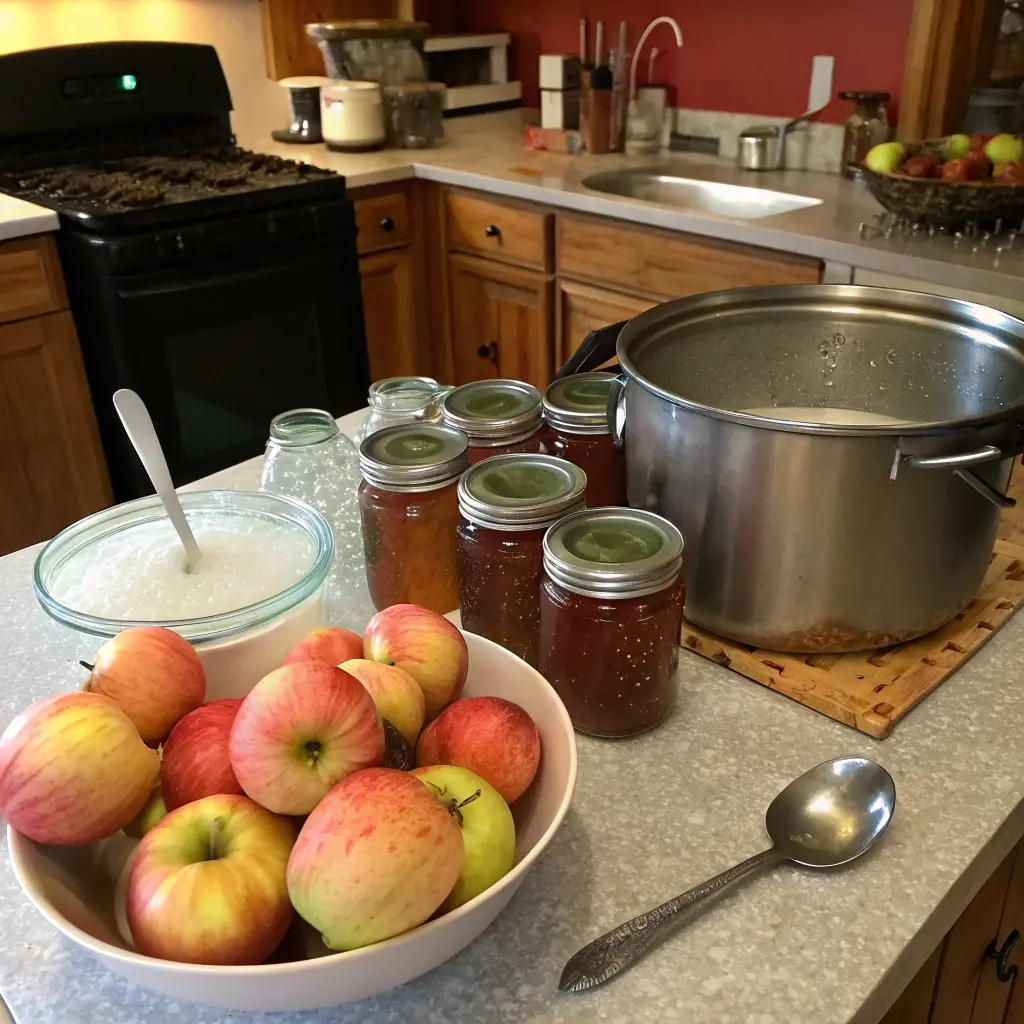
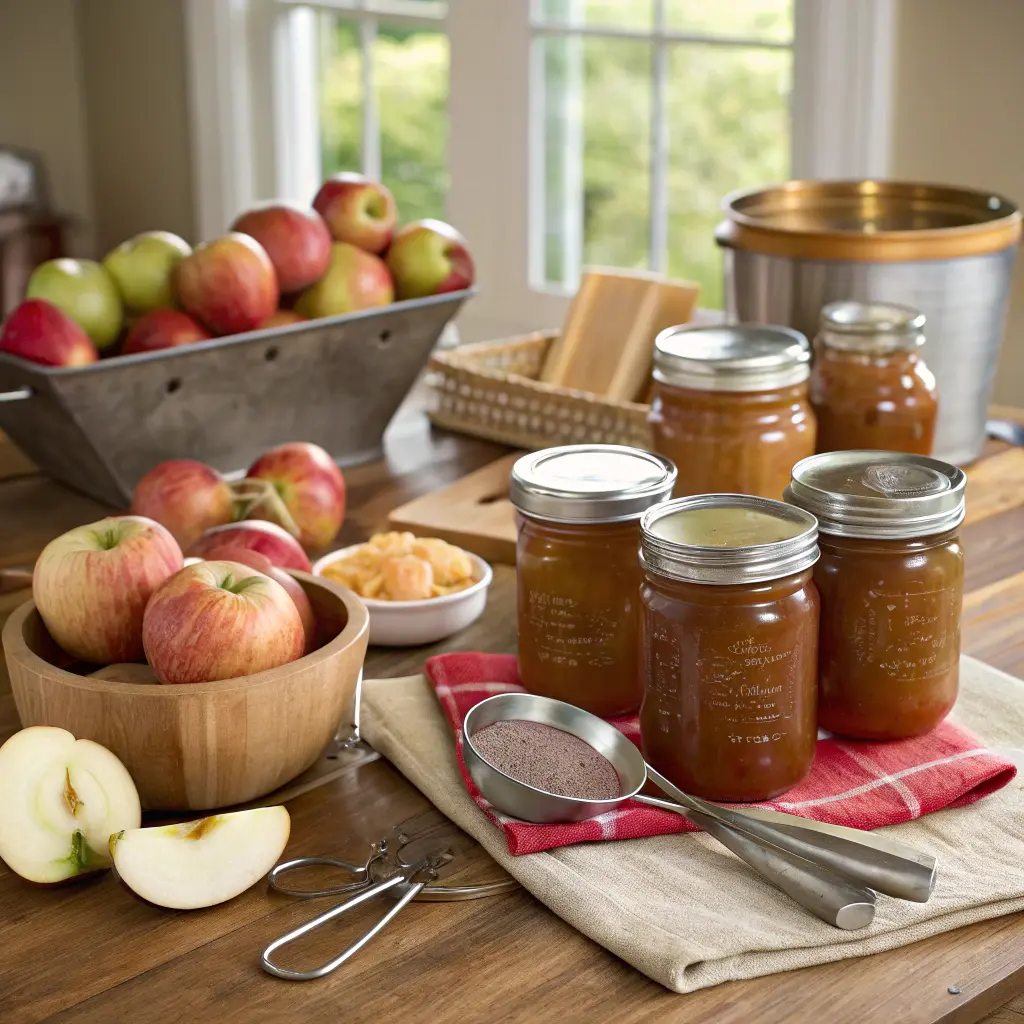
Step-by-Step Guide to Canning Apple Slices
Alright, let’s get canning! Here’s a simple step-by-step guide for canning apple slices:
- Prepare Jars: Inspect jars for any chips or cracks, and wash them well with hot, soapy water. Keep them warm until you are ready to fill them.
- Prepare Lids: Wash your canning lids in warm, soapy water. You don’t need to preheat them.
- Fill Jars: Using a jar lifter, take a hot jar out of the canner and place it on a towel. Pack the hot apple slices into the hot jars, leaving a 1/2-inch of space at the top (this is called “headspace”). Ladle the hot syrup or other liquid over the apples, again leaving a 1/2-inch headspace.
- Remove Air Bubbles: Use your bubble remover tool or a spatula to run down the sides of the jars to release any trapped air bubbles.
- Wipe Rims and Apply Lids: Wipe the jar rims clean with a damp cloth. Place a lid on the jar and screw on a band until it’s finger tight (don’t over tighten).
- Process in Water Bath Canner: Using a jar lifter, lower the filled jars into the canner. Make sure that the jars are covered by at least one inch of water. Bring the water to a rolling boil, then start your timer. Process both pint and quart jars for 20 minutes. Adjust the processing time for higher altitudes.
- Cool and Check Seals: Turn off the heat and let the jars rest in the canner for a few minutes before removing them. Set them on a towel or wire rack, leaving space between the jars, and let them cool for 12-24 hours. After they’ve cooled, check the seals by pressing the center of the lid to make sure it doesn’t pop back up. If you have any unsealed jars, store them in the fridge.
Canning Other Apple Products
Canning apple slices is just the start! You can also use these techniques to can:
- Applesauce: Simply boil apple quarters until they are tender, then mash or puree them before canning with the same process.
- Apple Butter: Cook your canned apples down even more, adding spices and sweeteners, until it’s a thick, smooth spread.
- Apple Pie Filling: Add a thickener like Clear Jel, spices, and flavorings to create a pie filling. Remember that this requires a slightly longer processing time (25 minutes).
Troubleshooting Common Canning Issues
Canning can sometimes have its hiccups, but don’t worry, most issues are easily addressed:
- Siphoning: This is when liquid is lost from the jars during processing. This often occurs due to rapid temperature changes. Try using hot jars and let the jars rest in the canner for a few minutes after processing.
- Floating Fruit: This is usually due to air in the fruit. The hot pack method helps, but it’s generally not a safety concern.
- Cloudy or Discolored Syrup: Skim off any foam before canning.
- Mushy Apples: Always choose firm, crisp varieties and avoid overcooking in the syrup.
- Unsealed Jars: Make sure you follow the instructions carefully when preparing your jars and lids. If the lid doesn’t seal, store the jar in the refrigerator and use it quickly. It is not safe to reprocess a jar that did not seal.
- Botulism: This is a serious concern with improperly canned foods. Always follow safe canning practices and tested recipes.
Flavor Variations and Additives
Feel free to get creative with the flavor of your canned apples! Here are a few ideas:
- Spices: Cinnamon, nutmeg, cloves, and ginger are classics.
- Extracts: Add a splash of vanilla or almond extract.
- Citrus Zest: A bit of lemon or orange zest can brighten up the flavor.
- Essential Oils: Be cautious with essential oils. They might not be safe for everyone.
Ways to Use Your Canned Apples
Now for the fun part – using your canned apples! Here are just a few ideas:
- Pies, Cobblers, Crisps, and Crumbles: The classics, always a winner.
- Topping for Yogurt, Oatmeal, or Ice Cream: A simple and delicious way to start your day.
- Quick Breads and Muffins: Add a burst of flavor to your baked goods.
- Compotes and Sauces: A tasty topping for pancakes or waffles.
- Savory Dishes: Try them with pork for a sweet and savory twist.
Remember to drain the canned apple slices before using them in baking recipes.
Cost Analysis and Sustainability
Canning your own apples is not only fun but also super economical! Home-canned apples are much more affordable than store-bought versions. You’ll be reducing food waste, using less packaging, and supporting local farmers by using locally grown apples. It’s a win-win all around!
Community and Social Aspects of Canning
Canning is often a family tradition, passed down through generations. It’s a fun activity to do with friends and family or even your neighbors. And let’s not forget, canned goods make wonderful, thoughtful gifts.
Harvesting and Storage of Fresh Apples
To make the most of your canning efforts, make sure to harvest your apples at the peak of ripeness. Gently twist the fruit from the stem; if it’s ready it should come off easily. Store fresh apples in a cool, dark, and dry place. A root cellar or refrigerator will help extend their shelf life before you get around to canning them.
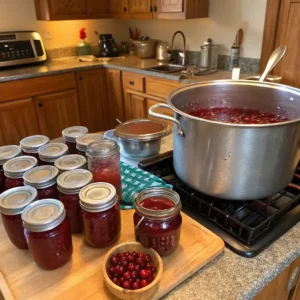
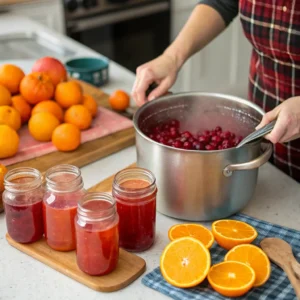
If you’ve successfully completed canning apples, consider expanding your preserving skills by trying to can cranberry juice next. Cranberry juice is a delightful and versatile addition to your pantry, perfect for both festive occasions and everyday enjoyment. For detailed instructions on how to can cranberry juice, check out our guide on canning cranberry juice. This resource will walk you through the process step-by-step, ensuring you achieve delicious results every time.
For additional expert advice and tips, visit Sharon Peterson’s website . Sharon is a renowned expert in canning and home preservation, offering invaluable insights and guidance to help you master the art of canning. Her wealth of knowledge and experience can greatly enhance your canning journey, whether you’re a beginner or an experienced preserver.
Conclusion
Canning apples is a wonderful way to enjoy the flavors of fall all year round. It’s a rewarding, practical, and fun activity that I think everyone should try. I hope this guide has helped you feel ready to dive into the world of apple canning!
Now it’s your turn! What are your favorite ways to can apples? Do you have any tips or tricks to share? Leave a comment below and let’s get a conversation going. Happy canning!
I hope you enjoy this post! Let me know if you have any other questions.
What apples are best for canning?
Choose crisp, firm apples like Honeycrisp, Fuji, or Braeburn1…. Avoid “sauce” varieties that turn to mush
Do I need to peel apples before canning?
It’s generally recommended to peel apples, as the skins can get tough3. Recipes tested for safety are often done with peeled apples4.
How do I prevent browning?
Use an ascorbic acid product or lemon water to soak the apples5….