Corn canning is a fantastic way to keep that fresh, sweet taste of summer corn all year round. Whether you grew it yourself or picked it up from a local farmer’s market, canning corn at home can be simple and rewarding. This article will walk you through some easy corn canning recipes, from the basics to sweet variations that will add a little extra flavor to your pantry.
Table of Contents
Key Takeaways
- Canning corn is a great way to preserve its freshness and flavor.
- Pressure canning is necessary for corn due to its low acidity.
- You can try different recipes like honey-glazed or spicy jalapeño corn.
- Proper storage is key to maintaining the quality of canned corn.
- Homemade canned corn can taste better than store-bought versions.
Introduction to Corn Canning recipes
Sweet and Simple Corn Canning
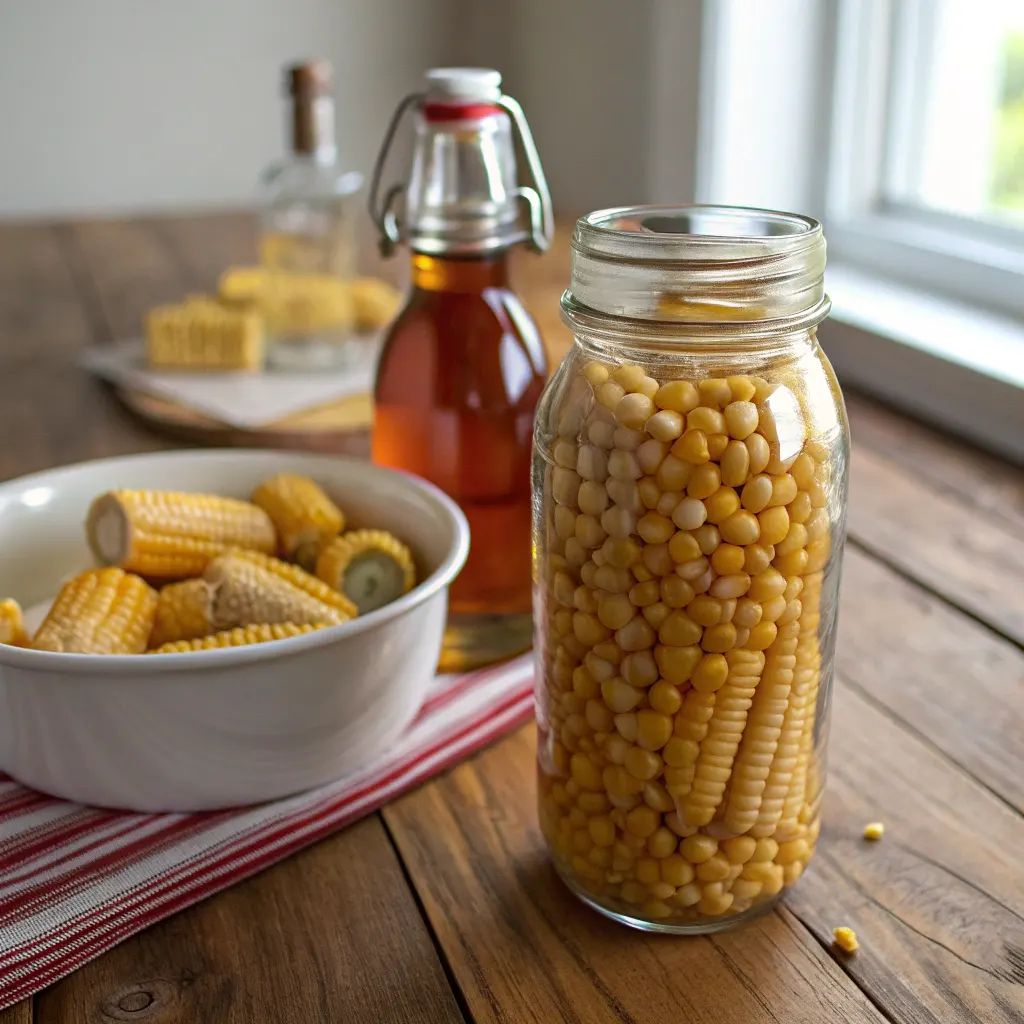
Hey there! So, you’re curious about corn canning, huh? Well, you’ve come to the right place. Canning corn is not just a way to preserve those golden kernels; it’s like bottling up a little piece of summer sunshine to enjoy all year round. It’s a simple and rewarding process that lets you savor the freshness of corn long after the harvest season has ended.
When you dive into the world of corn canning, you’re opening the door to a whole new level of self-sufficiency. Imagine having jars of sweet, juicy corn ready to go whenever you need them. Whether you’re a seasoned canner or just starting out, this guide will walk you through everything you need to know.
Here’s the thing: canning corn isn’t just about saving money—though that’s a nice perk. It’s also about knowing exactly what’s in your food. No preservatives, no additives, just pure, delicious corn. Plus, it’s a fun project that you can do with friends or family. Gather around the kitchen, share some laughs, and create something wonderful together.
Canning corn is like crafting your own pantry treasure. You get the satisfaction of doing it yourself, and the joy of popping open a jar of homemade goodness whenever you please.
So, why not give it a try? With a few basic tools and a bit of patience, you’ll soon be enjoying the taste of home-canned corn. Let’s get started on this tasty adventure!
Benefits of Canning Corn recipes
Canning corn at home comes with a bunch of perks that make it worth your while. First off, you get to enjoy the taste of summer all year round. When you can your own corn, you’re locking in that fresh, sweet flavor that store-bought cans just can’t compete with.
Cost-Effective
If you’re growing your own corn or buying it in bulk when it’s in season, canning is a great way to save some cash. You can stock up when prices are low and have plenty on hand without having to hit the grocery store.
Convenience
Having canned corn ready to go in your pantry is super convenient. Whether you’re whipping up a quick soup, stew, or just need a side dish, it’s right there. No need to thaw or cook—just open a jar and you’re good to go.
Reduces Waste
Canning is an awesome way to cut down on food waste. Instead of letting extra corn go bad, you can preserve it and use it later. It’s a win-win for your wallet and the environment.
Canning corn is like bottling up a piece of sunshine. You get to enjoy its sweet taste whenever you want, without any rush to consume it before it spoils.
Nutritional Benefits
Home-canned corn retains a lot of its nutrients, so you’re not missing out on the good stuff. Plus, you control what goes into your jars—no added preservatives or unwanted chemicals.
Customization
When you can your own corn, you can tweak the flavor to your liking. Want a bit of spice or a hint of sweetness? Go for it! You have complete control over the taste and ingredients.
In short, canning corn is a fantastic way to preserve its flavor and nutrition, save money, and reduce waste. Plus, it’s super handy to have on hand for quick meals or snacks.
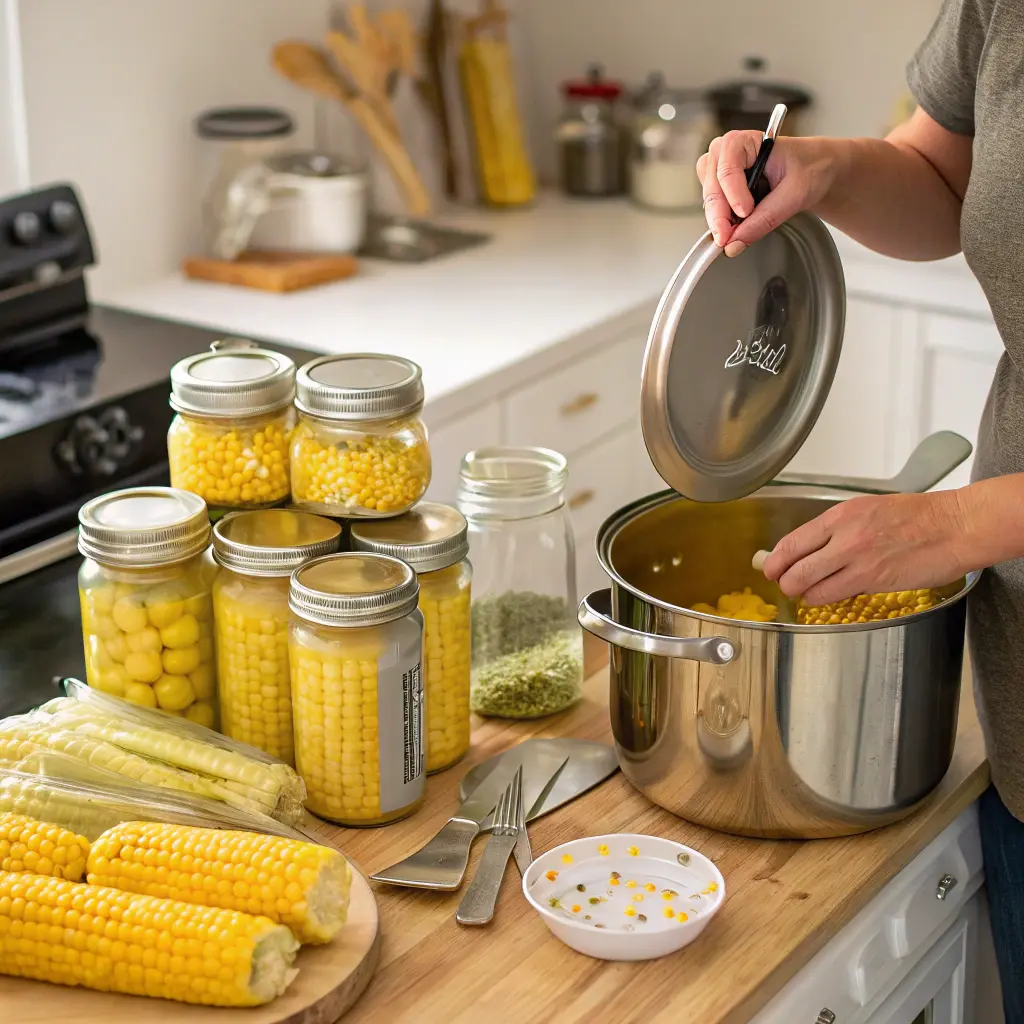
Essential Equipment for Corn Canning
So, you’re ready to can some corn? Awesome! But before you dive in, let’s make sure you’ve got all the right gear. Canning corn isn’t just about the corn itself; you need some specific tools to do it safely and effectively.
The Basics
Here’s what you’ll need:
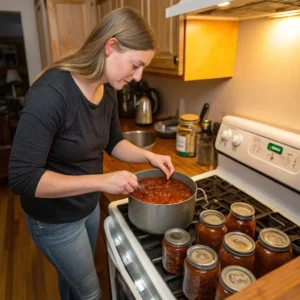
- Pressure Canner: This is a must-have for canning corn because corn is low-acid, and a pressure canner is the only safe way to preserve it. Remember, a pressure canner is different from a pressure cooker, so double-check you’ve got the right one.
- Canning Jars with Lids and Bands: Choose the size that works best for you. Pint jars are a popular choice. Make sure your jars have a two-piece lid and ring set.
- Canning Tools: A good set includes a funnel, jar lifter, and a bubble remover. These tools will make your canning process much smoother.
Additional Tools
- Filtered Water: Use this instead of tap water to avoid any chemicals that might affect the taste or safety of your canned corn.
- Canning Salt: It’s optional, but many folks prefer to add a pinch to each jar for flavor. Just make sure it’s non-iodized.
Having the right equipment not only makes the process easier but also ensures your canned corn is safe to eat. Don’t skimp on quality when it comes to canning tools.
With these essentials in hand, you’re all set to start canning your corn. It’s a bit of an investment upfront, but once you’ve got this gear, you’re ready for many seasons of delicious canning adventures! Learn more about essential equipment for canning.
Preparing Corn for Canning
Before you dive into the world of canning corn, it’s essential to know how to get your corn ready for the process. Preparing your corn properly can make all the difference in the quality and taste of your canned corn.
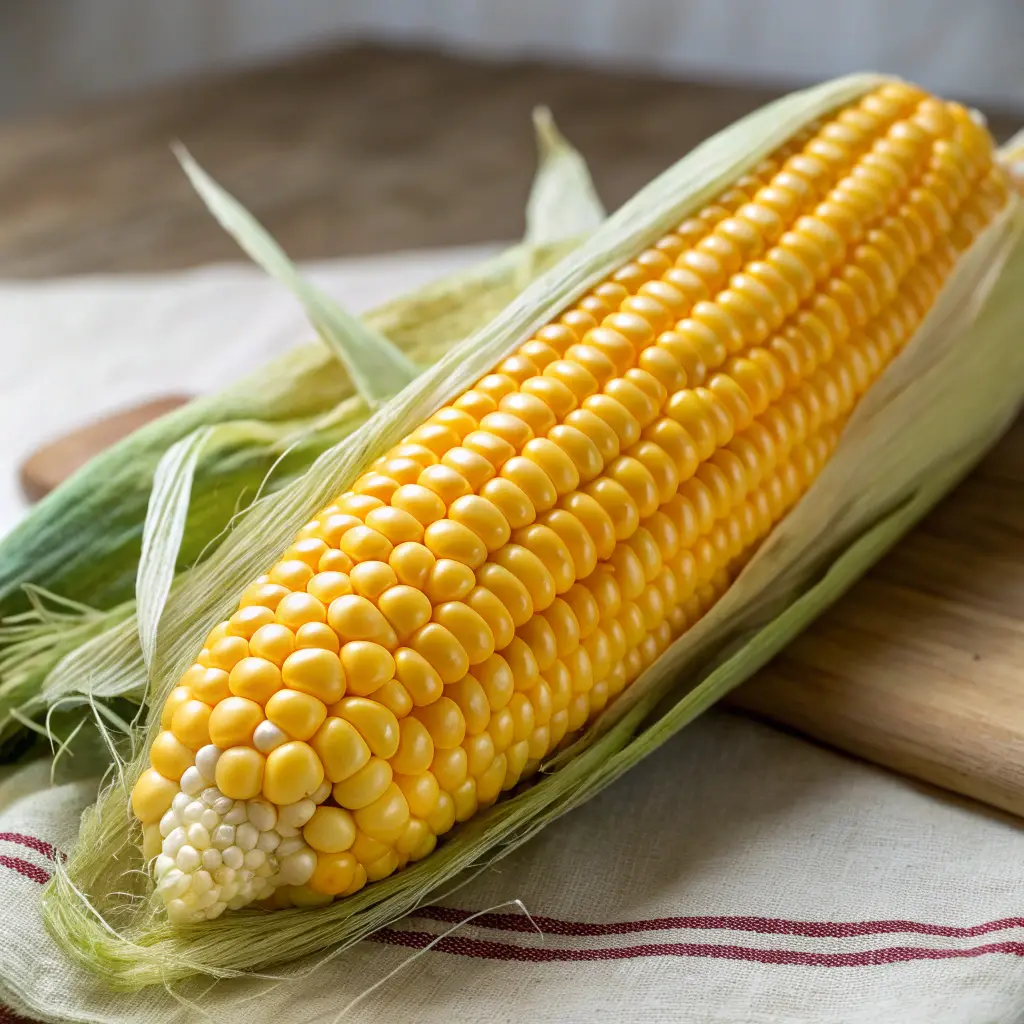
Selecting the Right Corn
When you’re learning how to can corn at home, choosing the best corn is the first step. Here are some tips to help you pick the perfect ears:
- Check the tassels: The tassels should be yellow or brown and feel fresh. If they’re black or dry, the corn might be past its prime.
- Examine the husk: Look for bright green, moist husks. Dried leaves or holes could mean older corn or pest damage.
- Feel the kernels: Gently squeeze the cob to ensure it’s firm and the kernels are evenly formed. Avoid corn with soft spots or incomplete kernels.
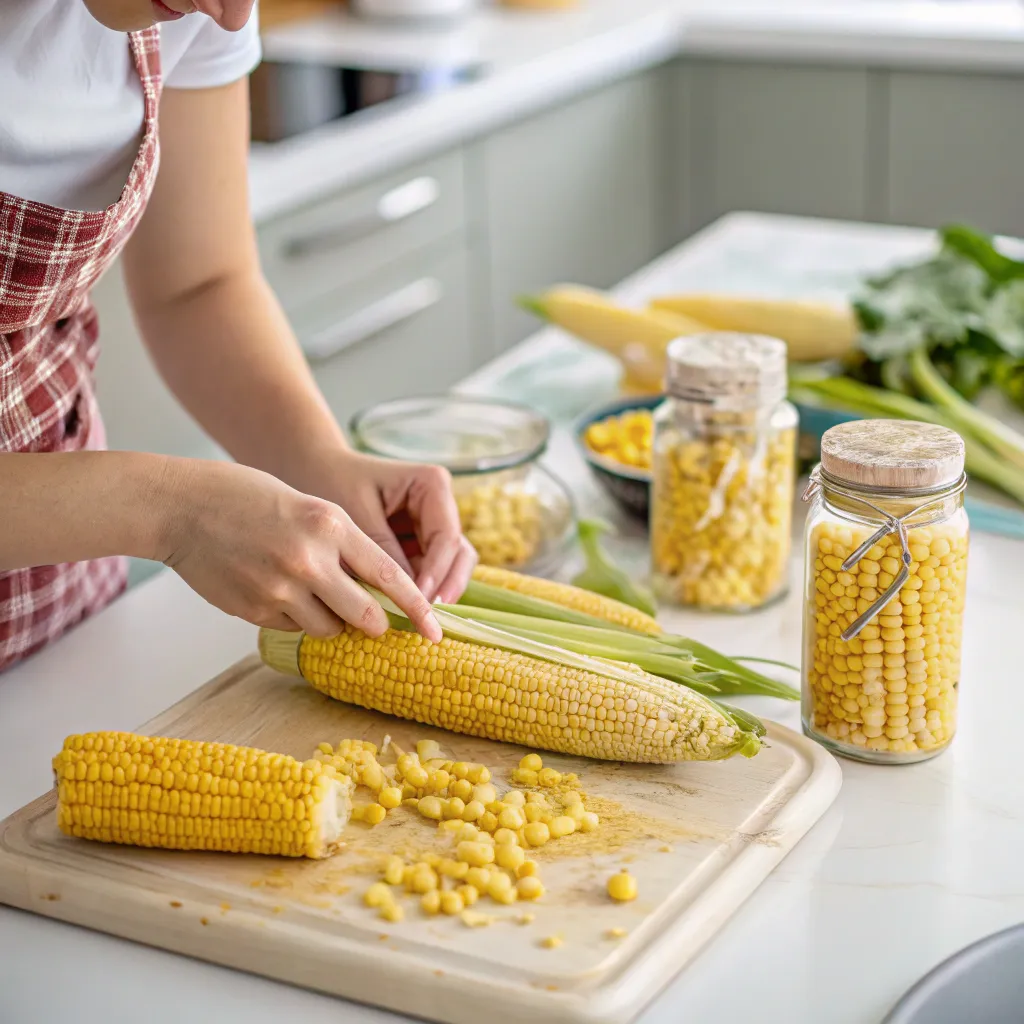
Cleaning and Cutting Corn
Once you’ve selected your corn, it’s time to clean and cut it:
- Shuck the corn: Remove the husks and as much silk as possible. Doing this outside can help keep the mess to a minimum.
- Wash the corn: Rinse each ear under cold water to get rid of any remaining silk or dirt.
- Cut the kernels off: Using a sharp knife, slice the kernels off the cob. A baking tray underneath your cutting board can catch stray kernels and make cleanup easier.
Preparing corn for canning might seem like a lot of work, but once you taste that sweet, home-canned corn in the middle of winter, you’ll know it’s worth every step.
Basic Corn Canning Recipe
Canning corn at home is a fantastic way to enjoy sweet, fresh corn all year round. Not only does it preserve the taste of summer, but it’s also a great way to ensure you have a healthy and delicious side dish ready whenever you need it. Whether you’re new to canning or a seasoned pro, this guide will walk you through the best corn canning techniques to make sure your corn is perfectly preserved.
Ingredients Needed
Before you start, gather all your ingredients and equipment. Here’s what you’ll need:
- 17 cups of whole corn kernels (about 20 pounds of corn in husks)
- 4.5 teaspoons of salt
- 9 to 12 cups of filtered water
Step-by-Step Instructions
- Prepare Your Corn: Start by husking the corn and removing all the silks. Once cleaned, cut the kernels off the cob. Be careful not to scrape the cob too closely, or you’ll end up with creamed corn.
- Pack the Jars: Choose between the raw pack or hot pack method. For the raw pack, pack the kernels loosely into hot jars, then add 1/2 teaspoon of salt per pint or 1 teaspoon per quart. Fill the jars with boiling water, leaving a 1-inch headspace.
- Process the Jars: Secure the lids and place the jars in a pressure canner. Process pint jars for 55 minutes or quart jars for 1 hour and 25 minutes at 10 pounds of pressure. Adjust for altitude if needed.
- Cool and Store: Once the canning process is complete, let the jars cool. Check the seals before storing them in a cool, dark place.
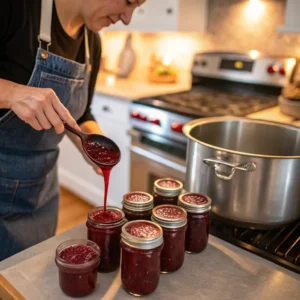
Canning your own corn can be a rewarding process that not only saves you money but also allows you to enjoy the taste of summer whenever you like. With homemade corn salsa canning, you can even spice things up a bit!
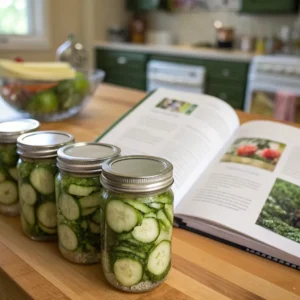
Remember, corn is low in acidity, so always use a pressure canner for safety. This method ensures your corn is preserved safely and retains its sweet flavor. For a tangy twist, consider trying a pickled corn recipe that adds a delightful zing to your canned goods.
Sweet Corn Canning Recipe Variations
If you’re looking to spice up your corn canning game, these variations will make your jars pop with flavor. Delicious corn recipes for preserving don’t have to be boring. Let’s explore some tasty twists.
Honey-Glazed Corn
Sweeten your canned corn with a touch of honey for a delightful treat. Here’s how you can do it:
Ingredients (Makes 4 pints):
- 8 cups fresh or frozen corn kernels (about 16–20 ears of corn)
- 1/2 cup honey
- 4 cups water
- 2 tsp salt (optional)
- 4 tbsp lemon juice (to ensure acidity for safer preservation)
Instructions:
- Prep Jars: Sterilize 4 pint-sized canning jars, lids, and rings in boiling water. Keep hot until ready to use.
- Make Honey Syrup: In a saucepan, combine water, honey, and salt (if using). Bring to a simmer, stirring until honey dissolves.
- Pack Jars: Fill jars with corn kernels, leaving 1-inch headspace. Add 1 tbsp lemon juice to each jar. Pour hot honey syrup over corn, maintaining 1-inch headspace. Remove air bubbles with a spatula.
- Seal & Process: Wipe jar rims, place lids, and tighten rings. Process in a pressure canner at 10 psi for 55 minutes (pints) or 85 minutes (quarts). Adjust psi for altitude if needed.
- Cool & Store: Let jars cool for 24 hours. Check seals, label, and store in a cool, dark place.
Spicy Jalapeño Corn
Ingredients (Makes 4 pints):
- 8 cups fresh or frozen corn kernels
- 4–6 fresh jalapeños, thinly sliced (deseed for milder heat)
- 4 cups water or vegetable broth
- 4 tbsp white vinegar (for acidity)
- 2 tsp salt
Instructions:
- Prep Jars: Sterilize jars and lids as above. Wear gloves while handling jalapeños.
- Layer Flavors: In each jar, alternate corn and jalapeño slices, leaving 1-inch headspace. Add 1 tbsp vinegar and 1/2 tsp salt to each jar.
- Add Liquid: Pour hot water or broth over the corn and peppers, maintaining 1-inch headspace. Remove air bubbles.
- Seal & Process: Wipe rims, seal jars, and process in a pressure canner at 10 psi for 55 minutes (pints) or 85 minutes (quarts). Adjust for altitude.
- Cool & Store: Let cool, check seals, and store. Flavor intensifies over 2–3 weeks!
For those who love a bit of heat, this spicy variation is a must-try:
Whether it’s the sweet touch of honey or the fiery kick of jalapeños, these corn canning variations add a whole new dimension to your pantry staples. Canning isn’t just about preservation—it’s about creating flavors that excite your taste buds.
These vibrant flavors are perfect for making a quick and easy corn salsa that can be enjoyed all year round.
Tips for Storing Canned Corn
When it comes to keeping your canned corn fresh and tasty, a few simple steps can make all the difference. Proper storage is key to enjoying your corn for months to come.
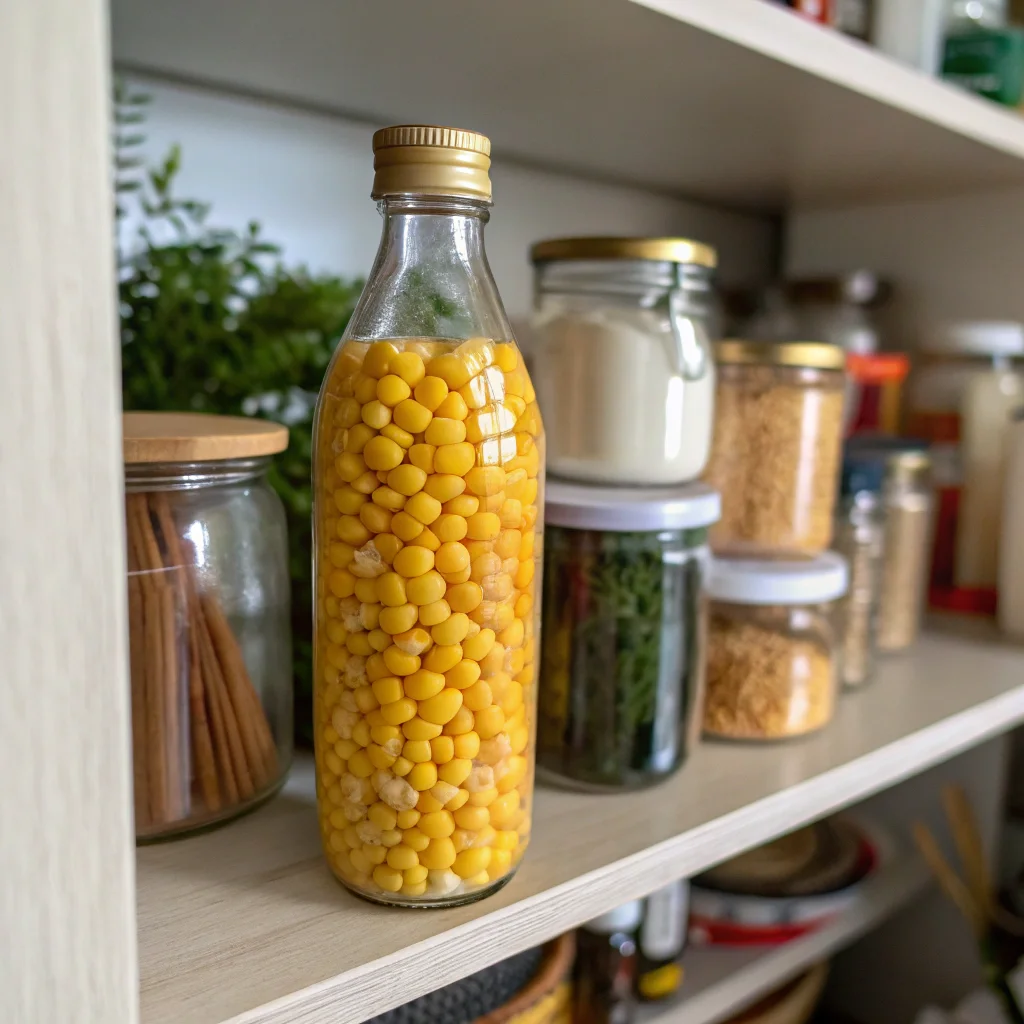
- Cool and Dark Places: Store your canned corn in a cool, dark pantry. This helps maintain its flavor and extends its shelf life. Avoid areas near heat sources such as stoves or direct sunlight.
- Rotate Your Stock: To ensure you’re always using the freshest cans, practice the “first in, first out” method. This means using the older cans first and adding new ones to the back of your pantry.
- Transfer After Opening: Once you’ve opened a can, any unused corn should be transferred to a different container. This keeps it fresh for a bit longer in the fridge.
Storing canned corn properly not only preserves its taste but also its nutritional value. By following these easy corn preservation methods, you can savor the sweetness of summer all year round.
With these tips, your canned corn will stay delicious and ready to add to any meal. Enjoy the convenience of having this pantry staple at your fingertips whenever you need it.
Safety Notes:
- Always use a pressure canner for low-acid foods like corn. Water-bath canning is unsafe here.
- Adjust processing time/pressure based on your altitude (check USDA guidelines).
- Discard jars with broken seals or unusual odors after opening.
Enjoy your sweet and spicy canned corn in soups, salads, or as a bold side dish! 🌽🔥
Conclusion
So there you have it, folks! Canning corn is not just about preserving those golden kernels; it’s about capturing the essence of summer in a jar. Whether you’re a seasoned canner or just starting out, the joy of opening a jar of home-canned corn in the middle of winter is unmatched.
Here’s a quick recap of why canning corn is a fantastic idea:
- Versatility: Canned sweet corn is a versatile pantry staple that enhances the flavor and texture of soups and stews. Its natural sweetness complements savory ingredients, making it an excellent addition to various dishes.
- Convenience: Having jars of corn ready to go means less time prepping and more time enjoying your meals.
- Cost-Effective: Canning your own corn can be more economical than buying canned corn from the store, especially if you grow your own or buy in bulk.
Canning at home is a wonderful way to connect with the past while enjoying the fruits of your labor in the present. It’s a little bit of work, sure, but the rewards are sweet—literally!
As you store your jars away, remember to label them with the date so you can keep track of freshness. And don’t forget to share your bounty with friends and family; nothing says love like a homemade gift.
Happy canning!
Frequently Asked Questions
How do I know if my canned corn is sealed properly?
To check if your canned corn is sealed, press the center of the lid. If it doesn’t pop back, it’s sealed. If it moves, refrigerate and use soon.
Can I use table salt instead of canning salt for canning corn?
It’s best to use canning salt because table salt can cause cloudiness and affect the taste.
Why does corn need to be pressure canned?
Corn is low in acidity, so it needs to be pressure canned to prevent bacteria growth and ensure safety.